
beauty you control
EYELACE INSTRUCTIONAL VIDEO
Learn how to wear your Eyelace with our video tutorial. With practice and support, anyone can achieve a professional lash effect that enhances their eyes' natural beauty.


How To Apply Your Eyelace Lashes
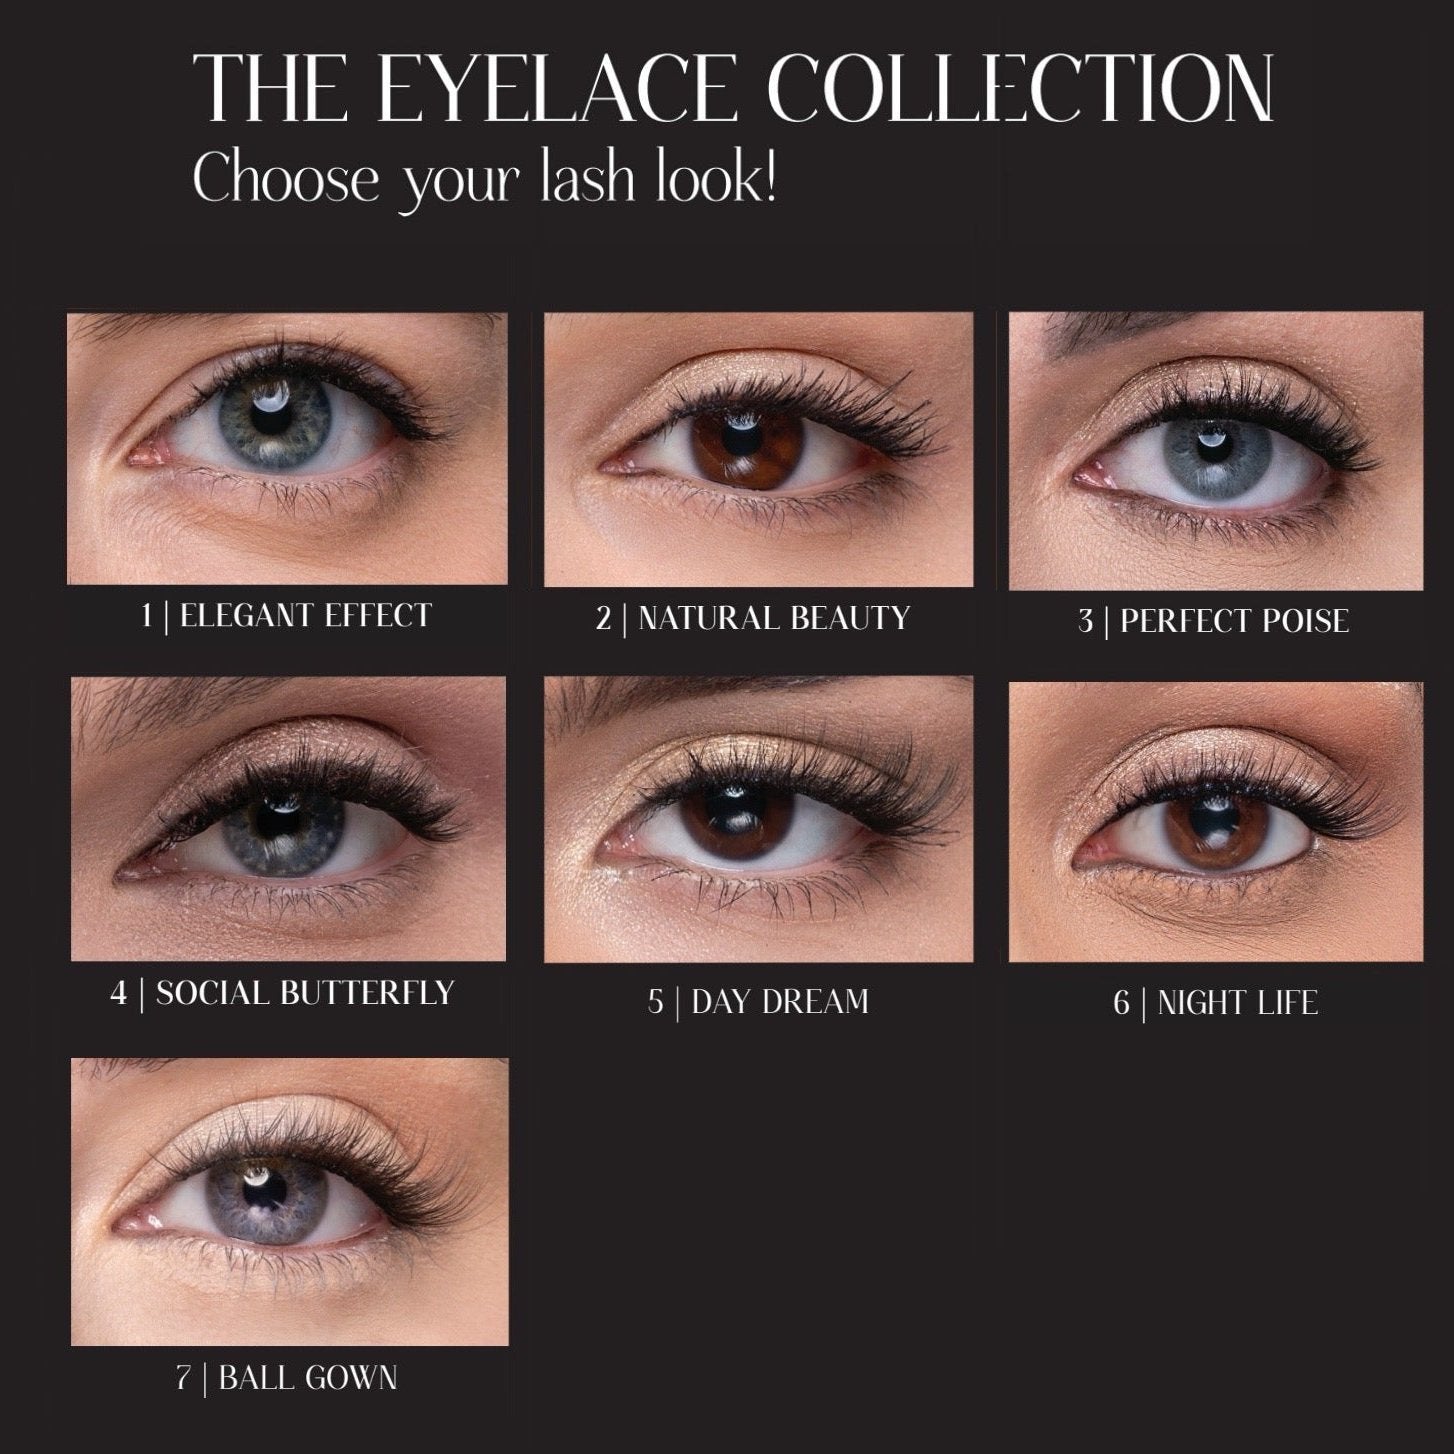
Choose a lash from the Eyelace Collection that fits your mood and the occasion.
Carefully remove the lash from the stickers using tweezers.
Inspect it to ensure it is free of any dust, glue, or debris.
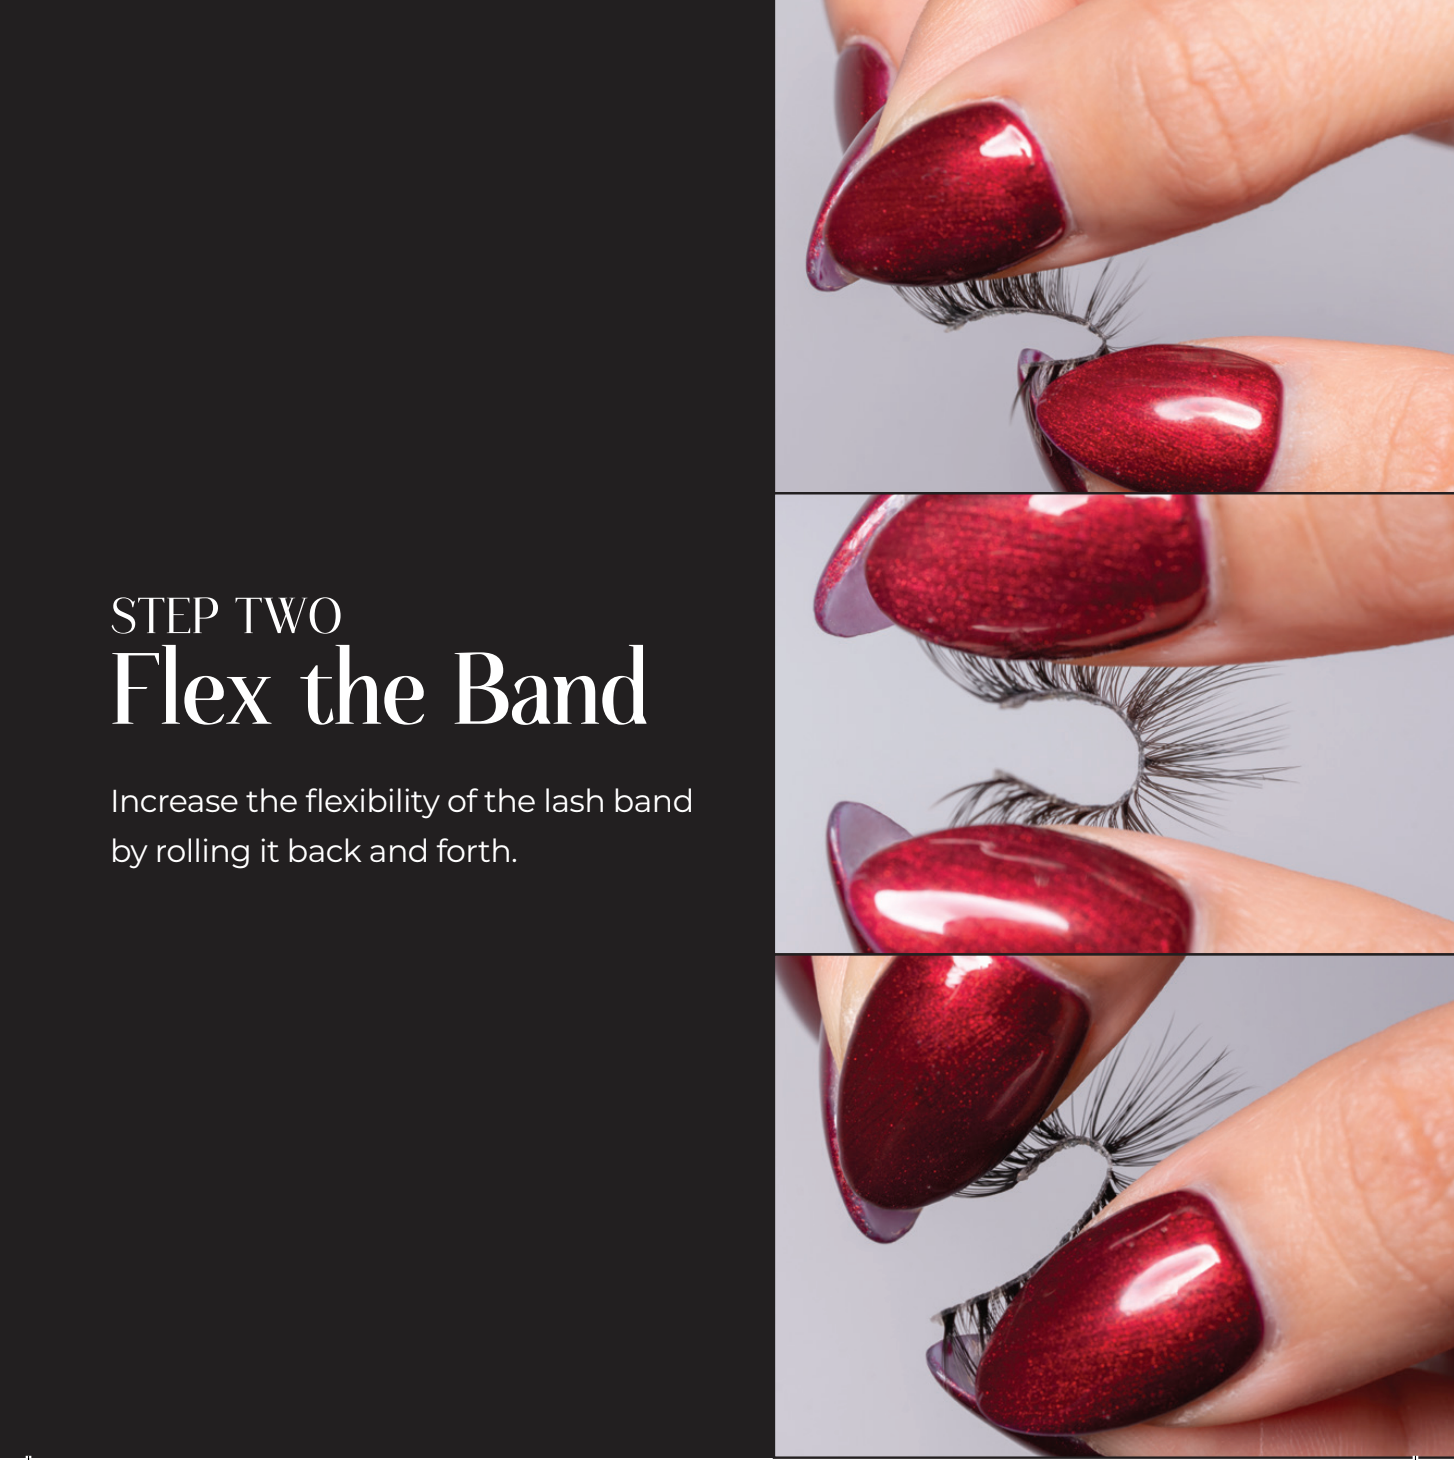
Flex the lash band so that it will more readily fit the shape of your eye.
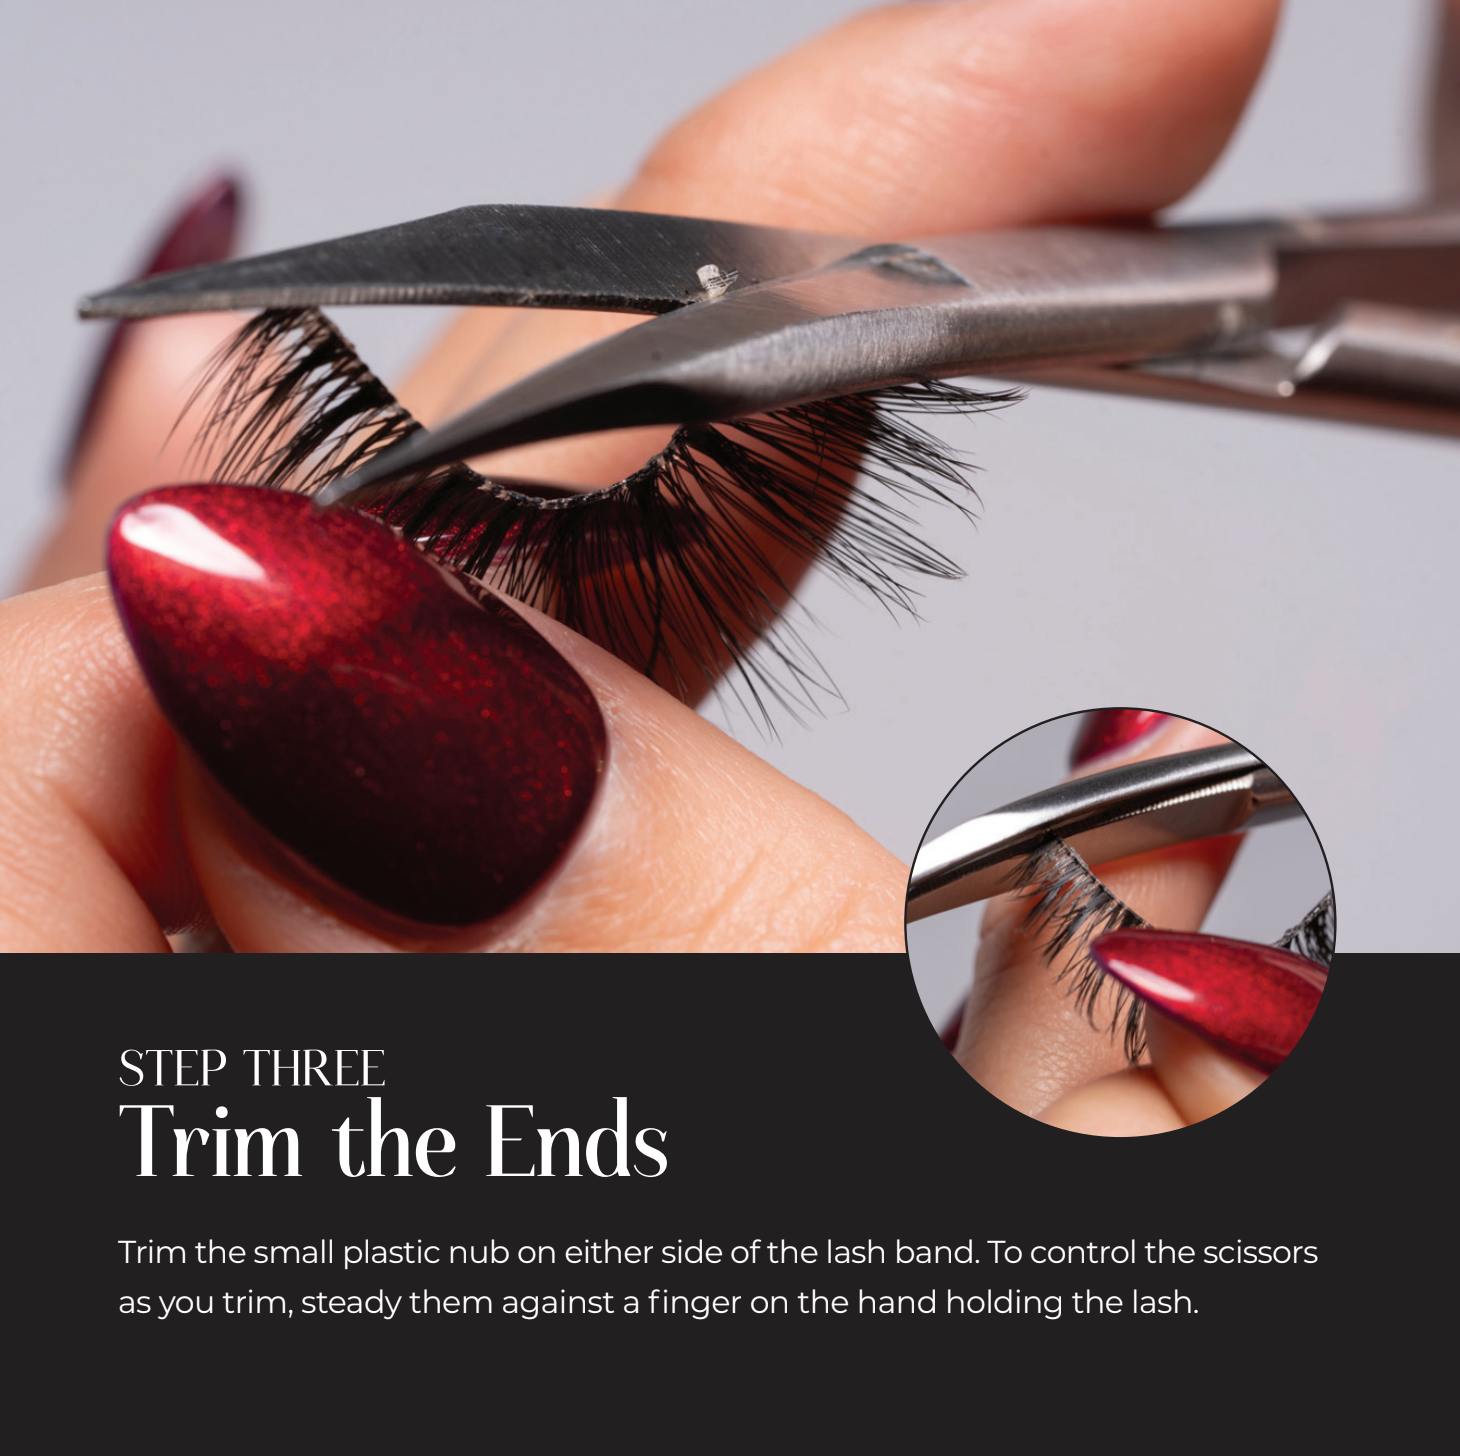
Trim the plastic ends of the band, steadying the scissors against a finger on the hand holding the lash.
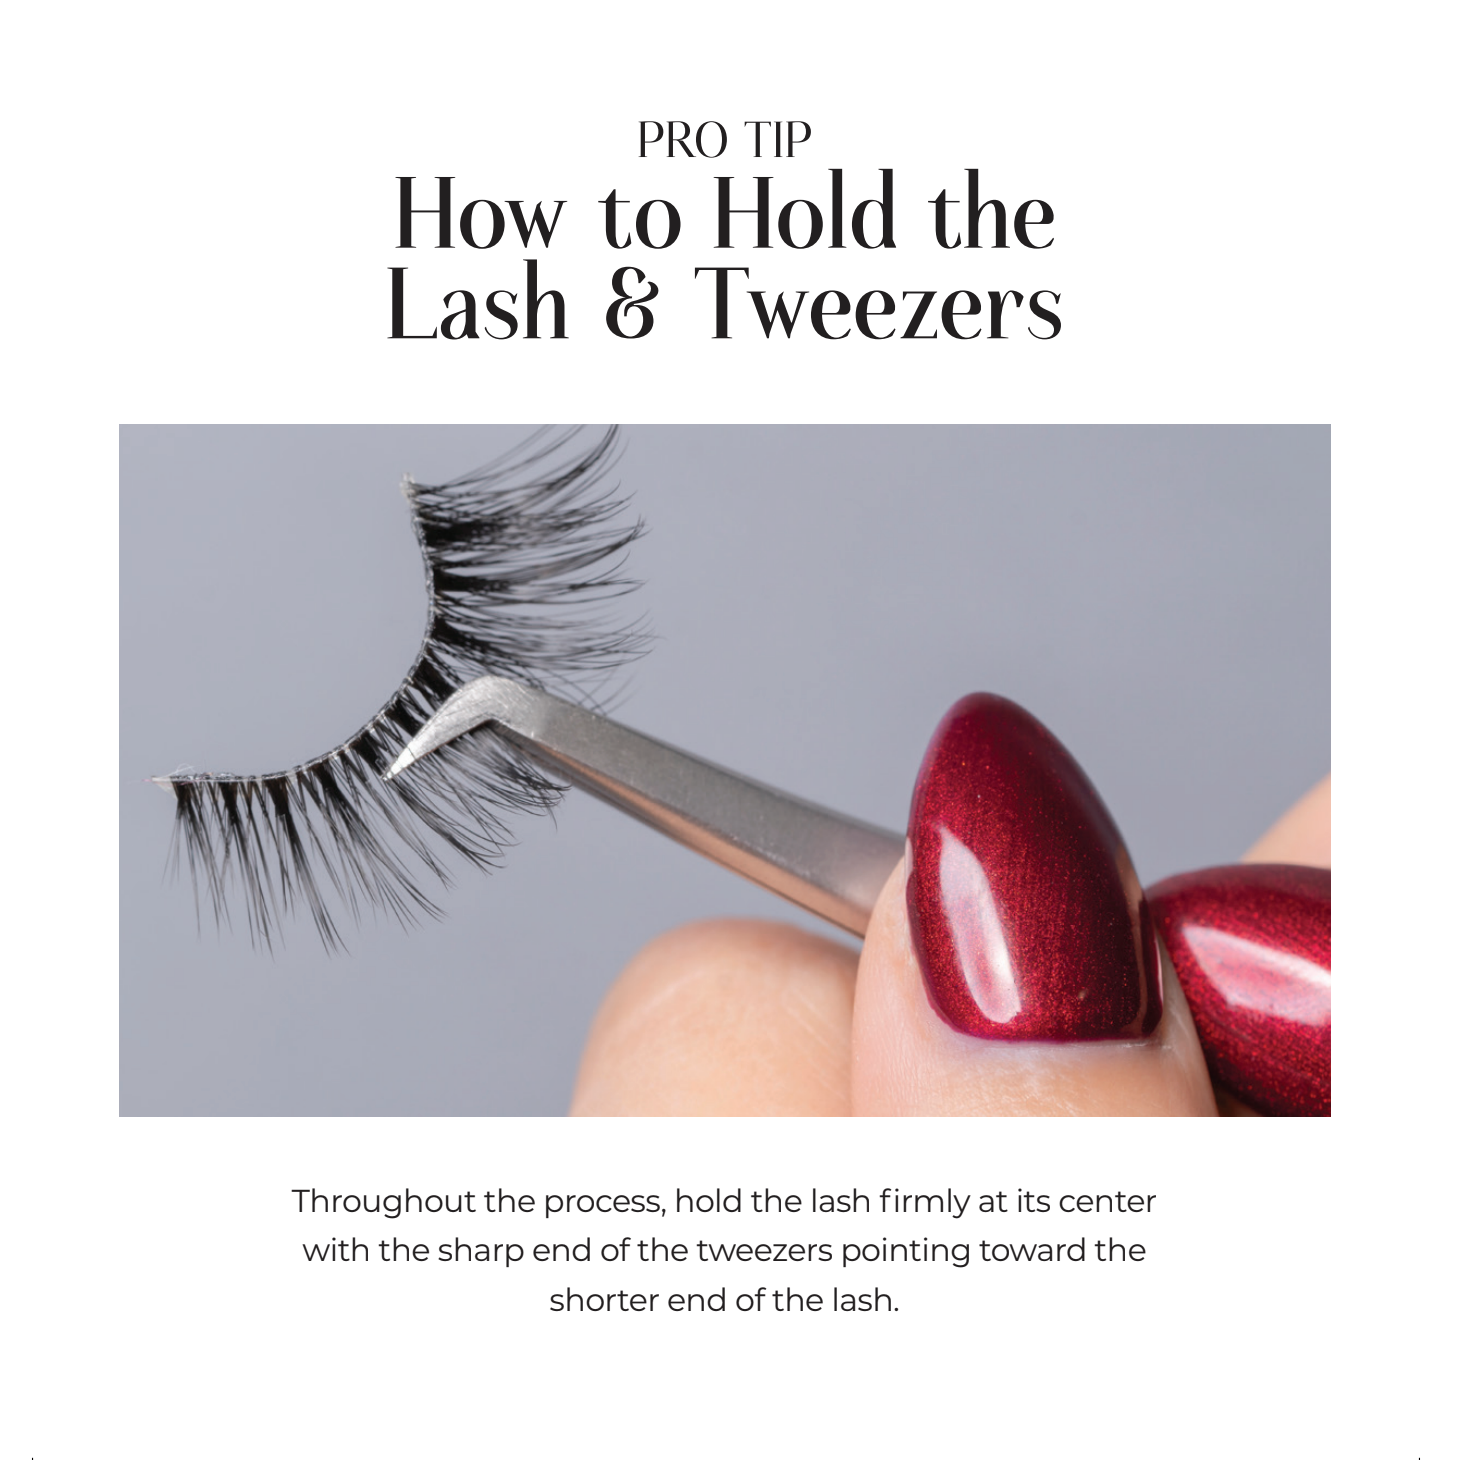
Always hold the lash firmly at its center and at the top of the band with the sharp end of the tweezers pointing towards the shorter end of the lash.
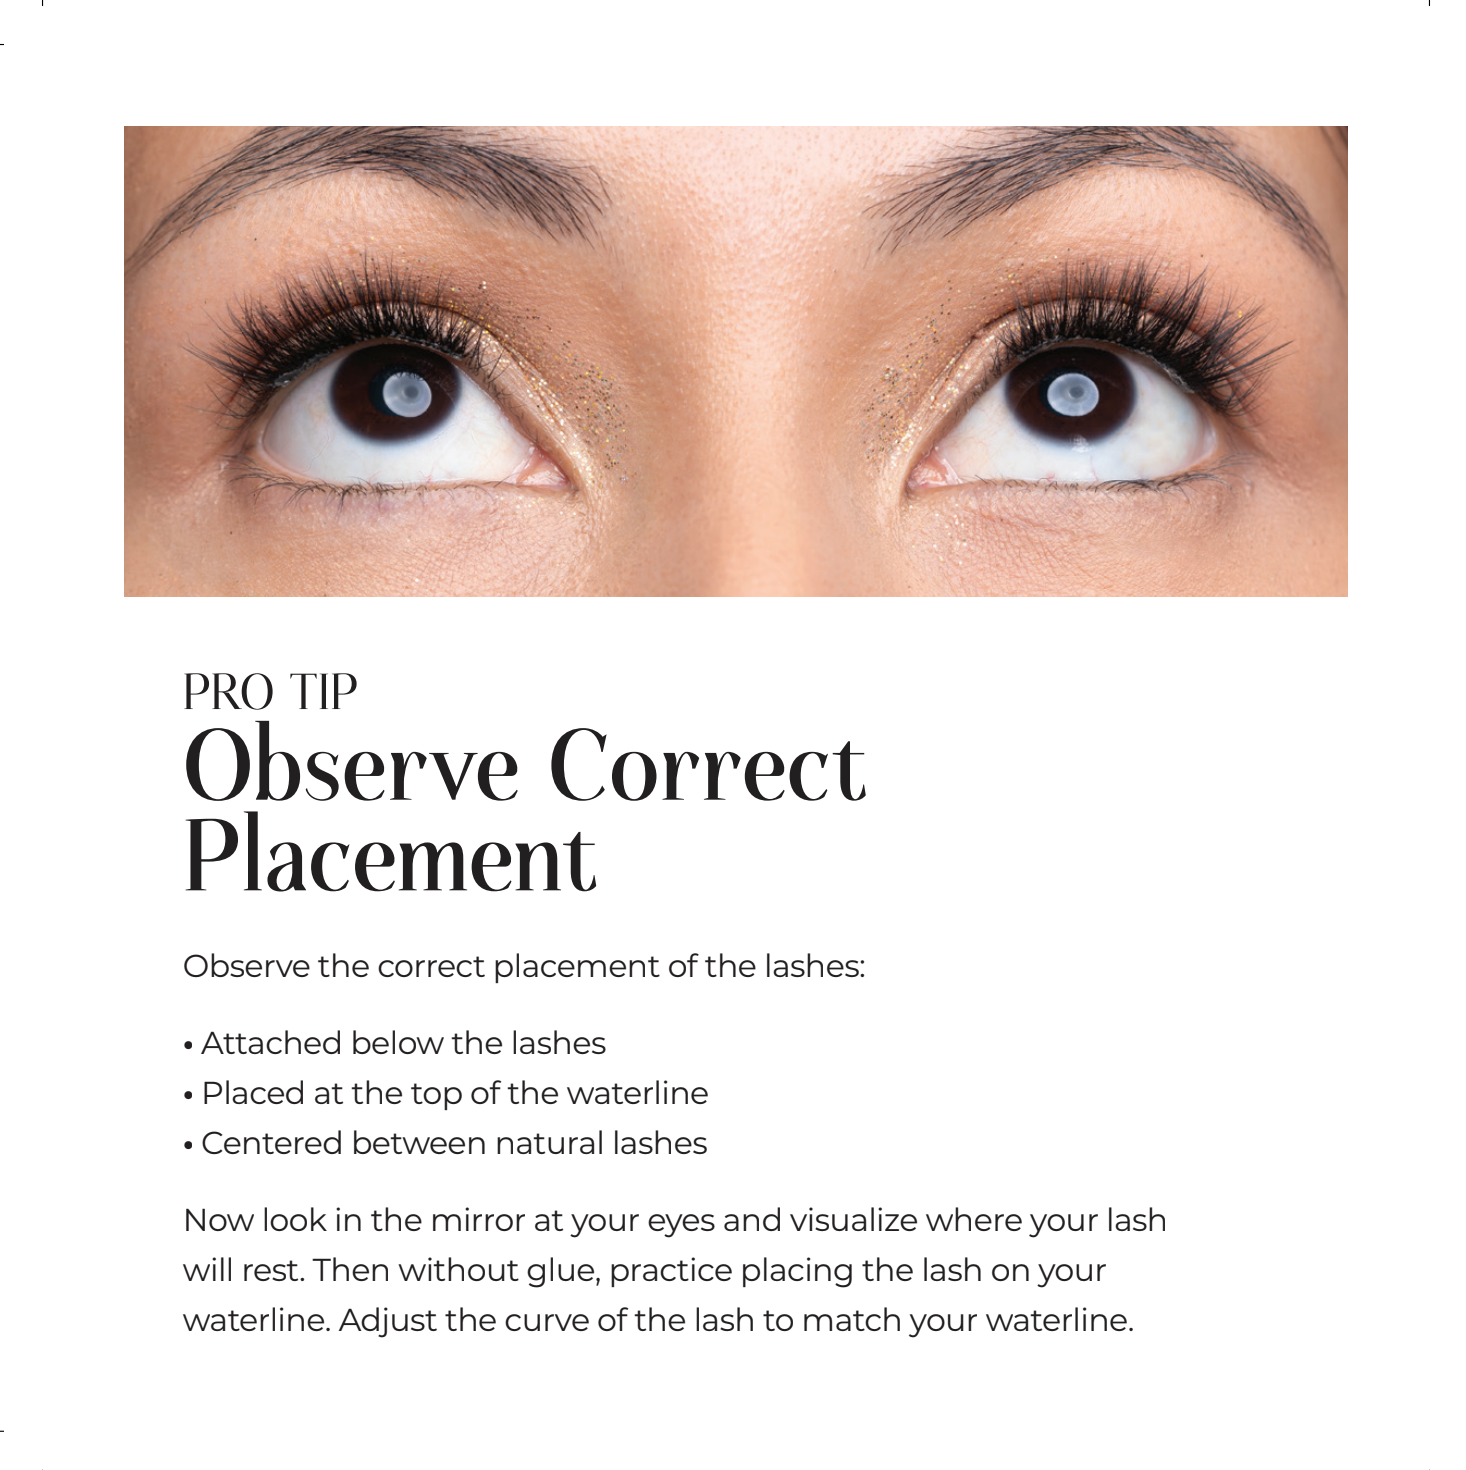
Practice placing your Eyelace to your waterline, so that there are some natural lashes showing on either end.
Adjust and shape your Eyelace so it matches your eye's natural curve. The arch of some eyes is right in the center and for others, it is closer to the shorter end of the lash.
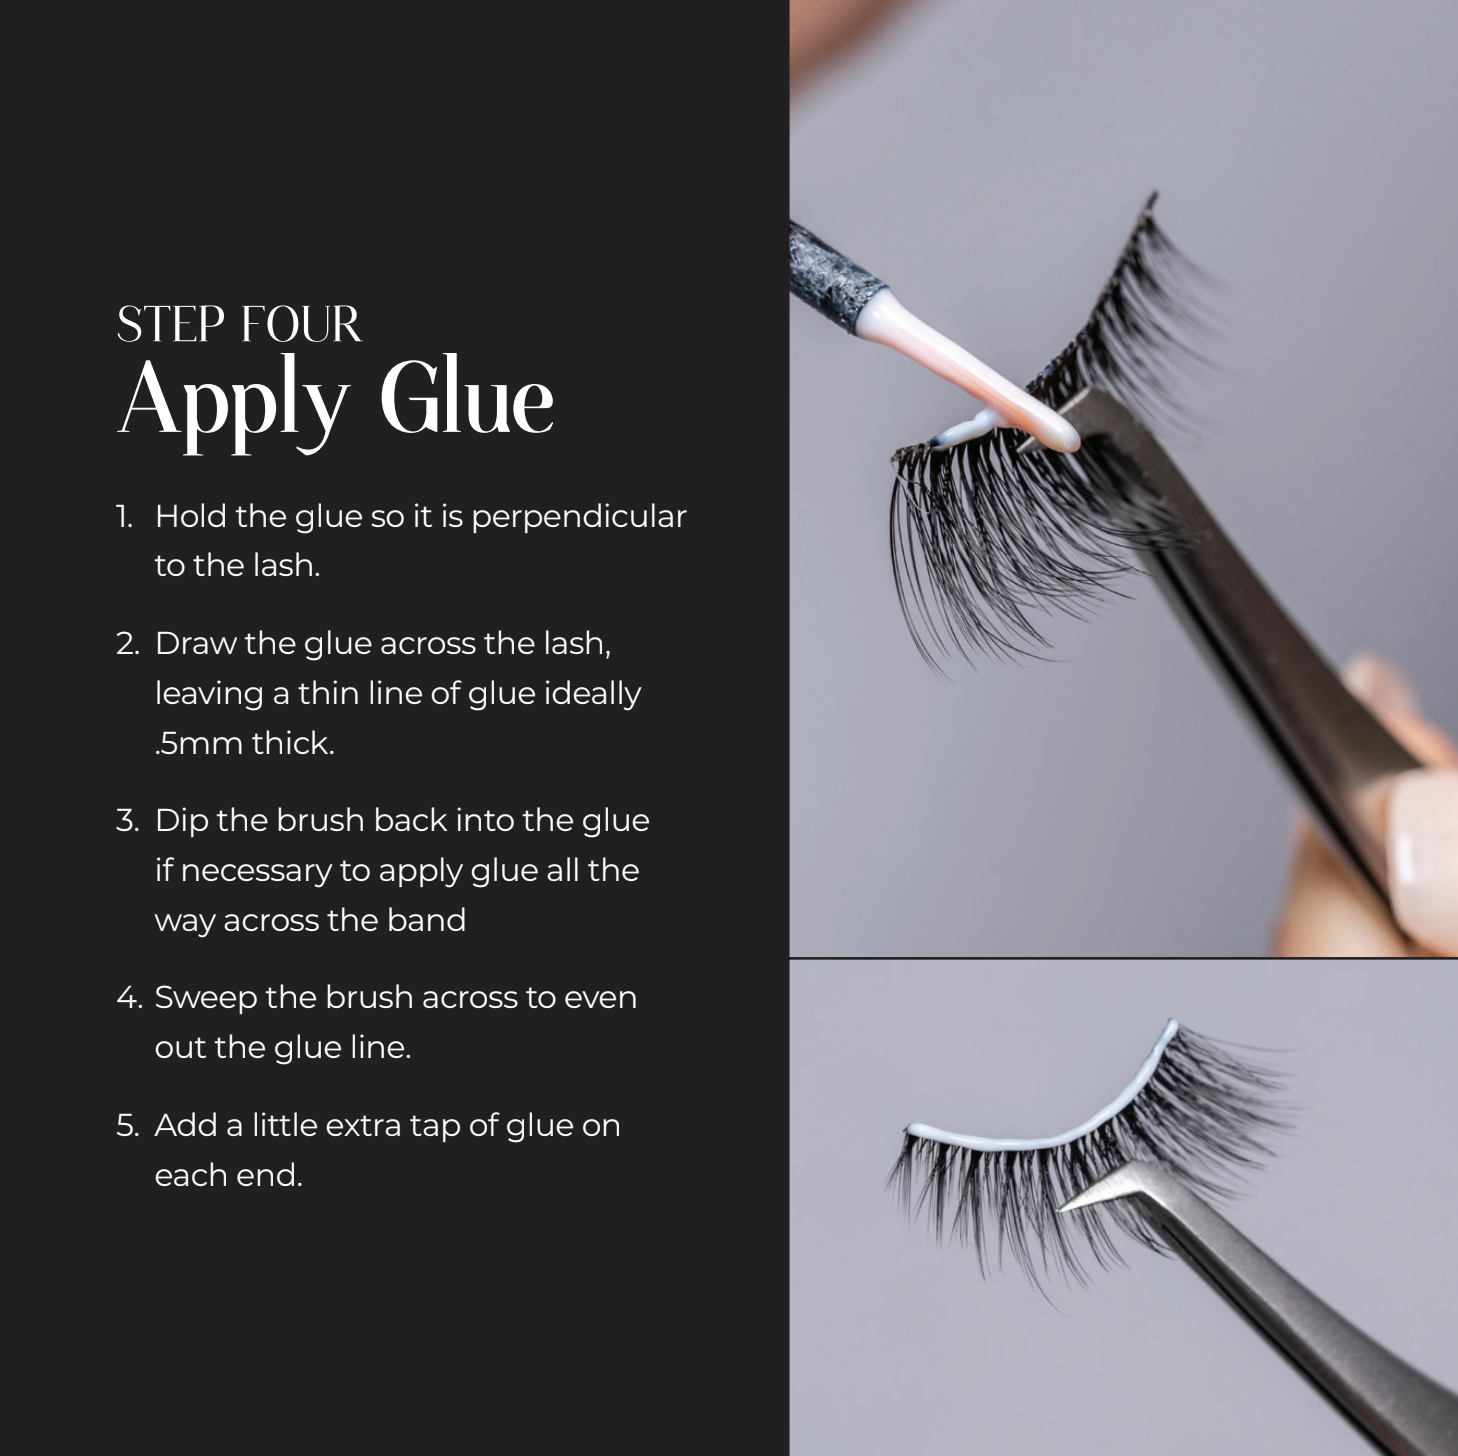
To apply the glue hold the lash by the tweezers in one hand, and draw the glue carefully across the lash with the other. Create a thin line of glue all the way across the band. Add a tiny tap of more glue on both ends.
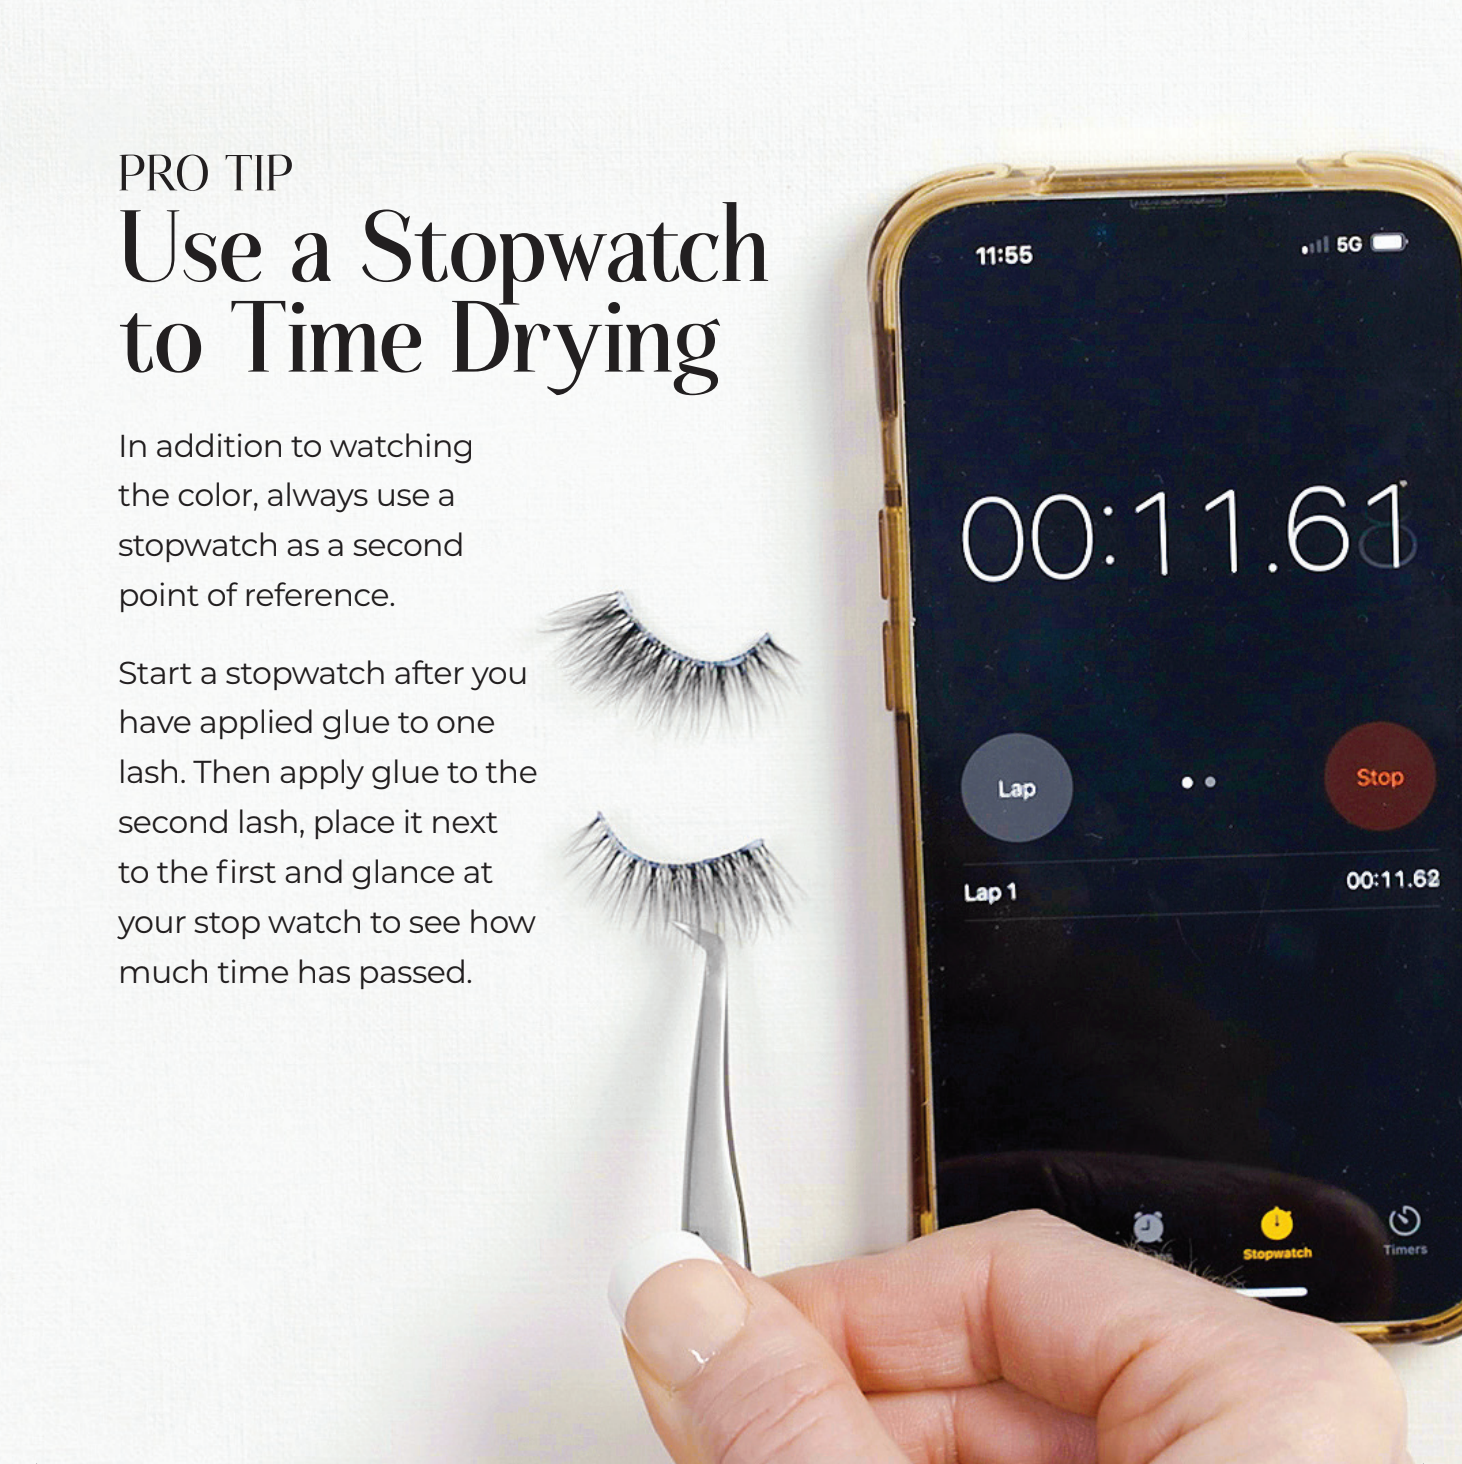
Place the lash somewhere to dry where it won’t be disturbed by air current or anything else. Now set a stopwatch. Then, apply glue to the second lash and set it down next to the first, and glance at your stopwatch to keep track of the drying time for each lash.
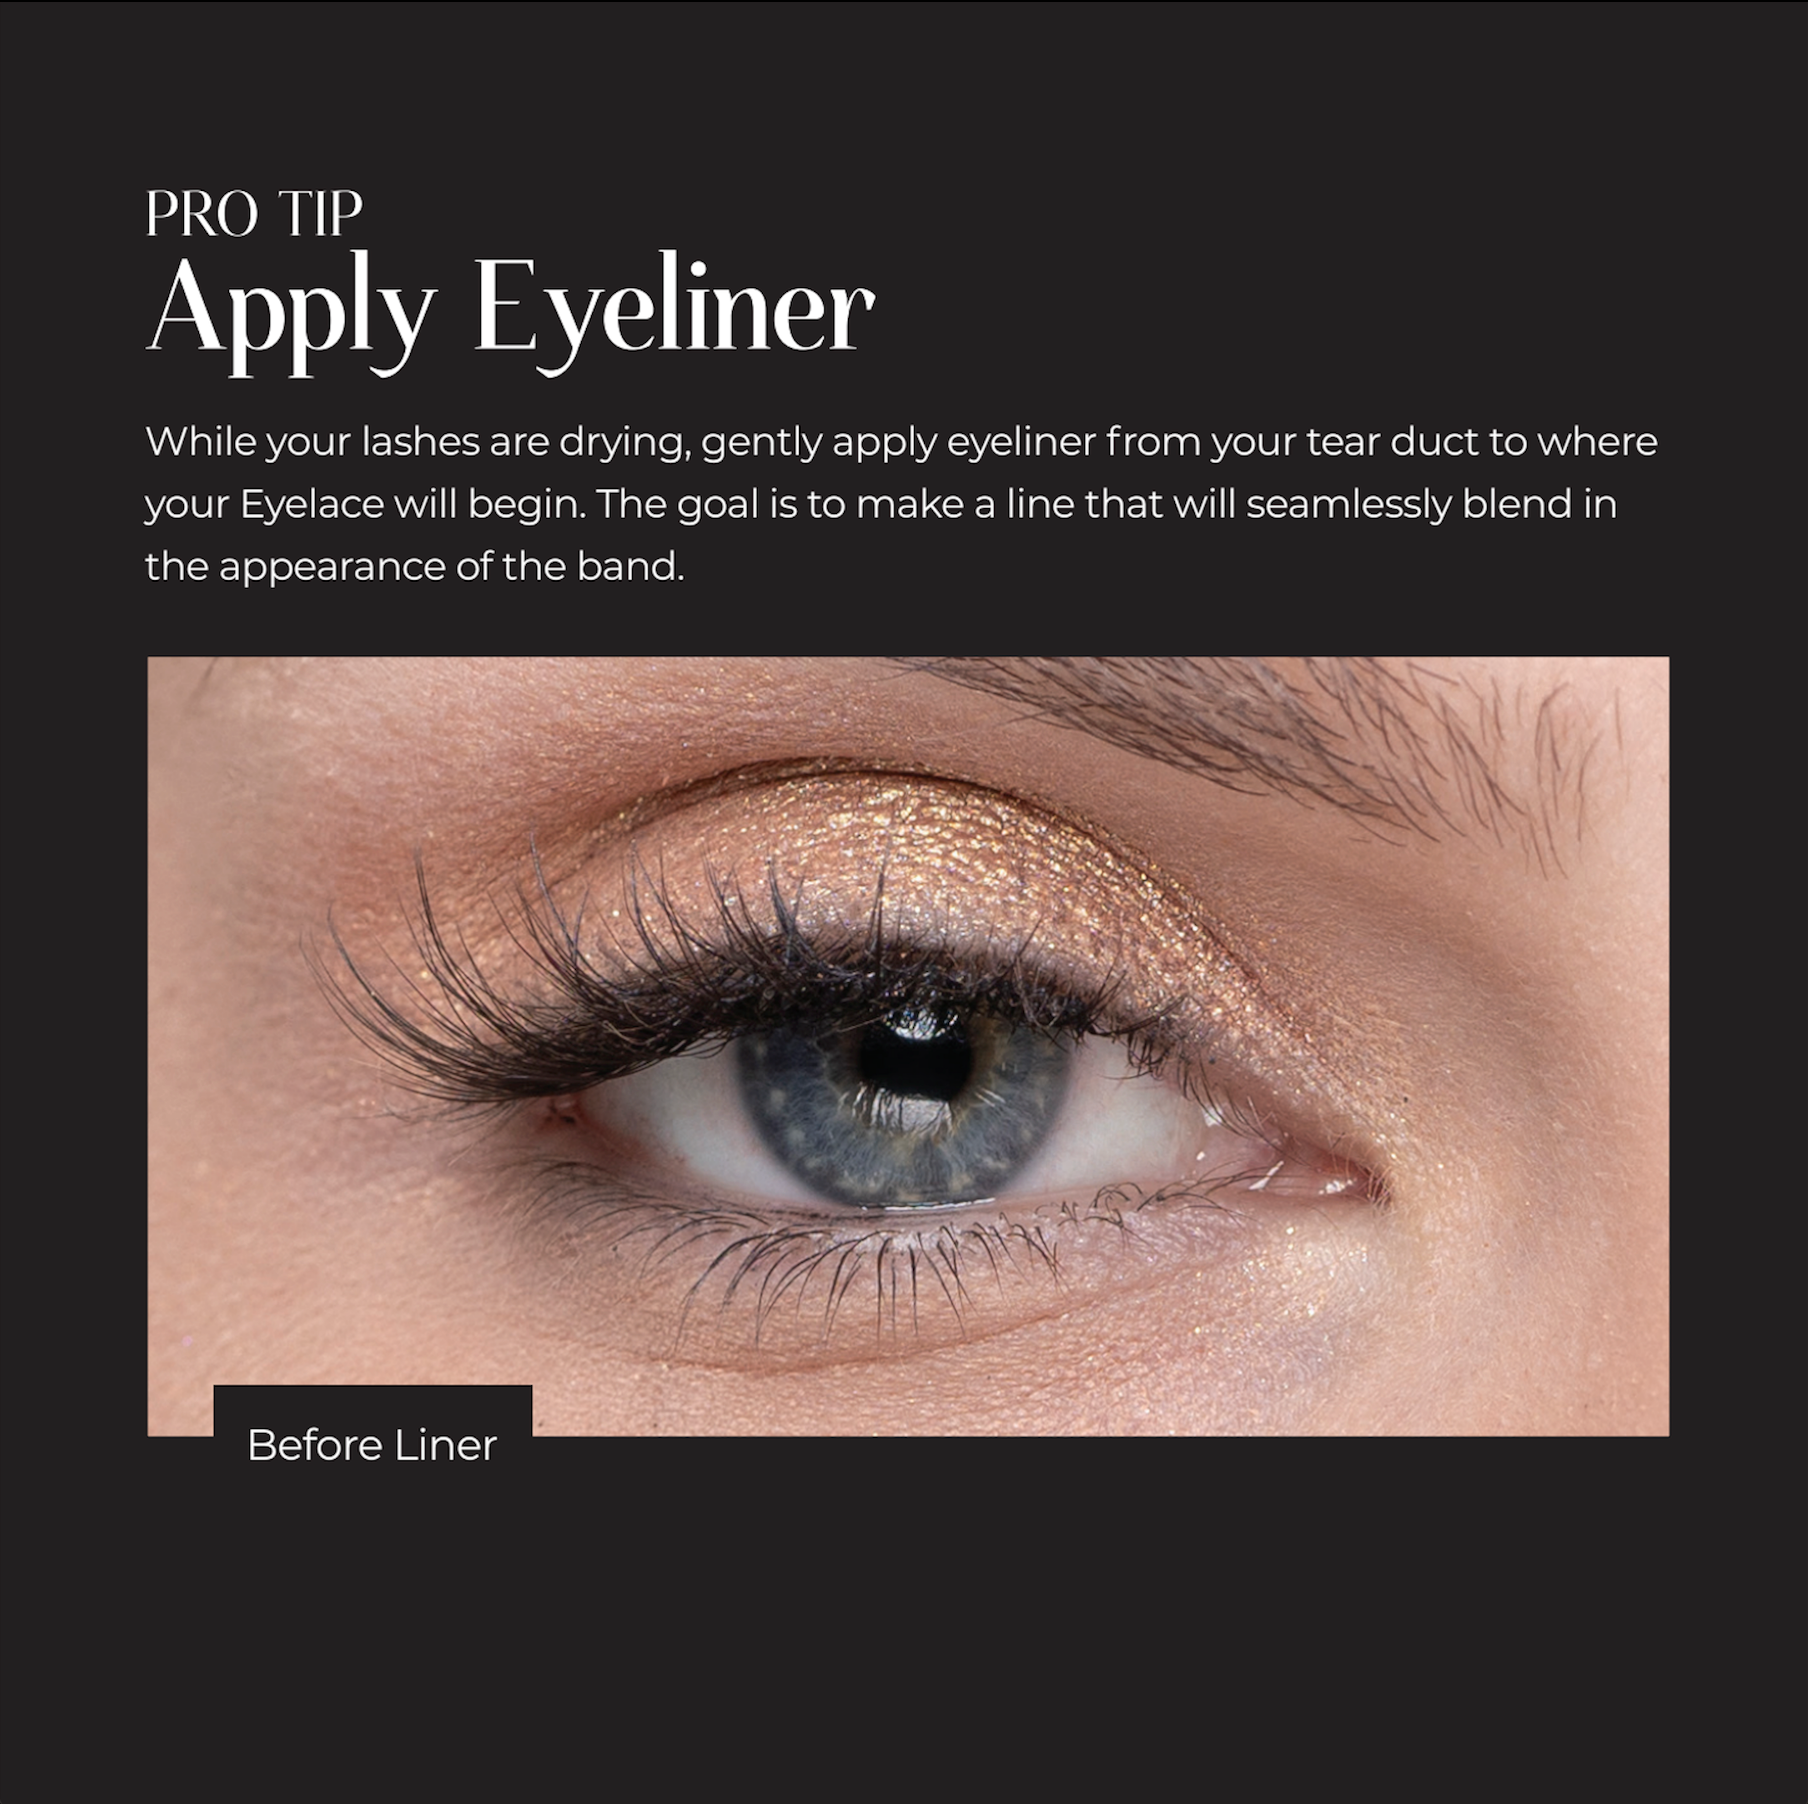
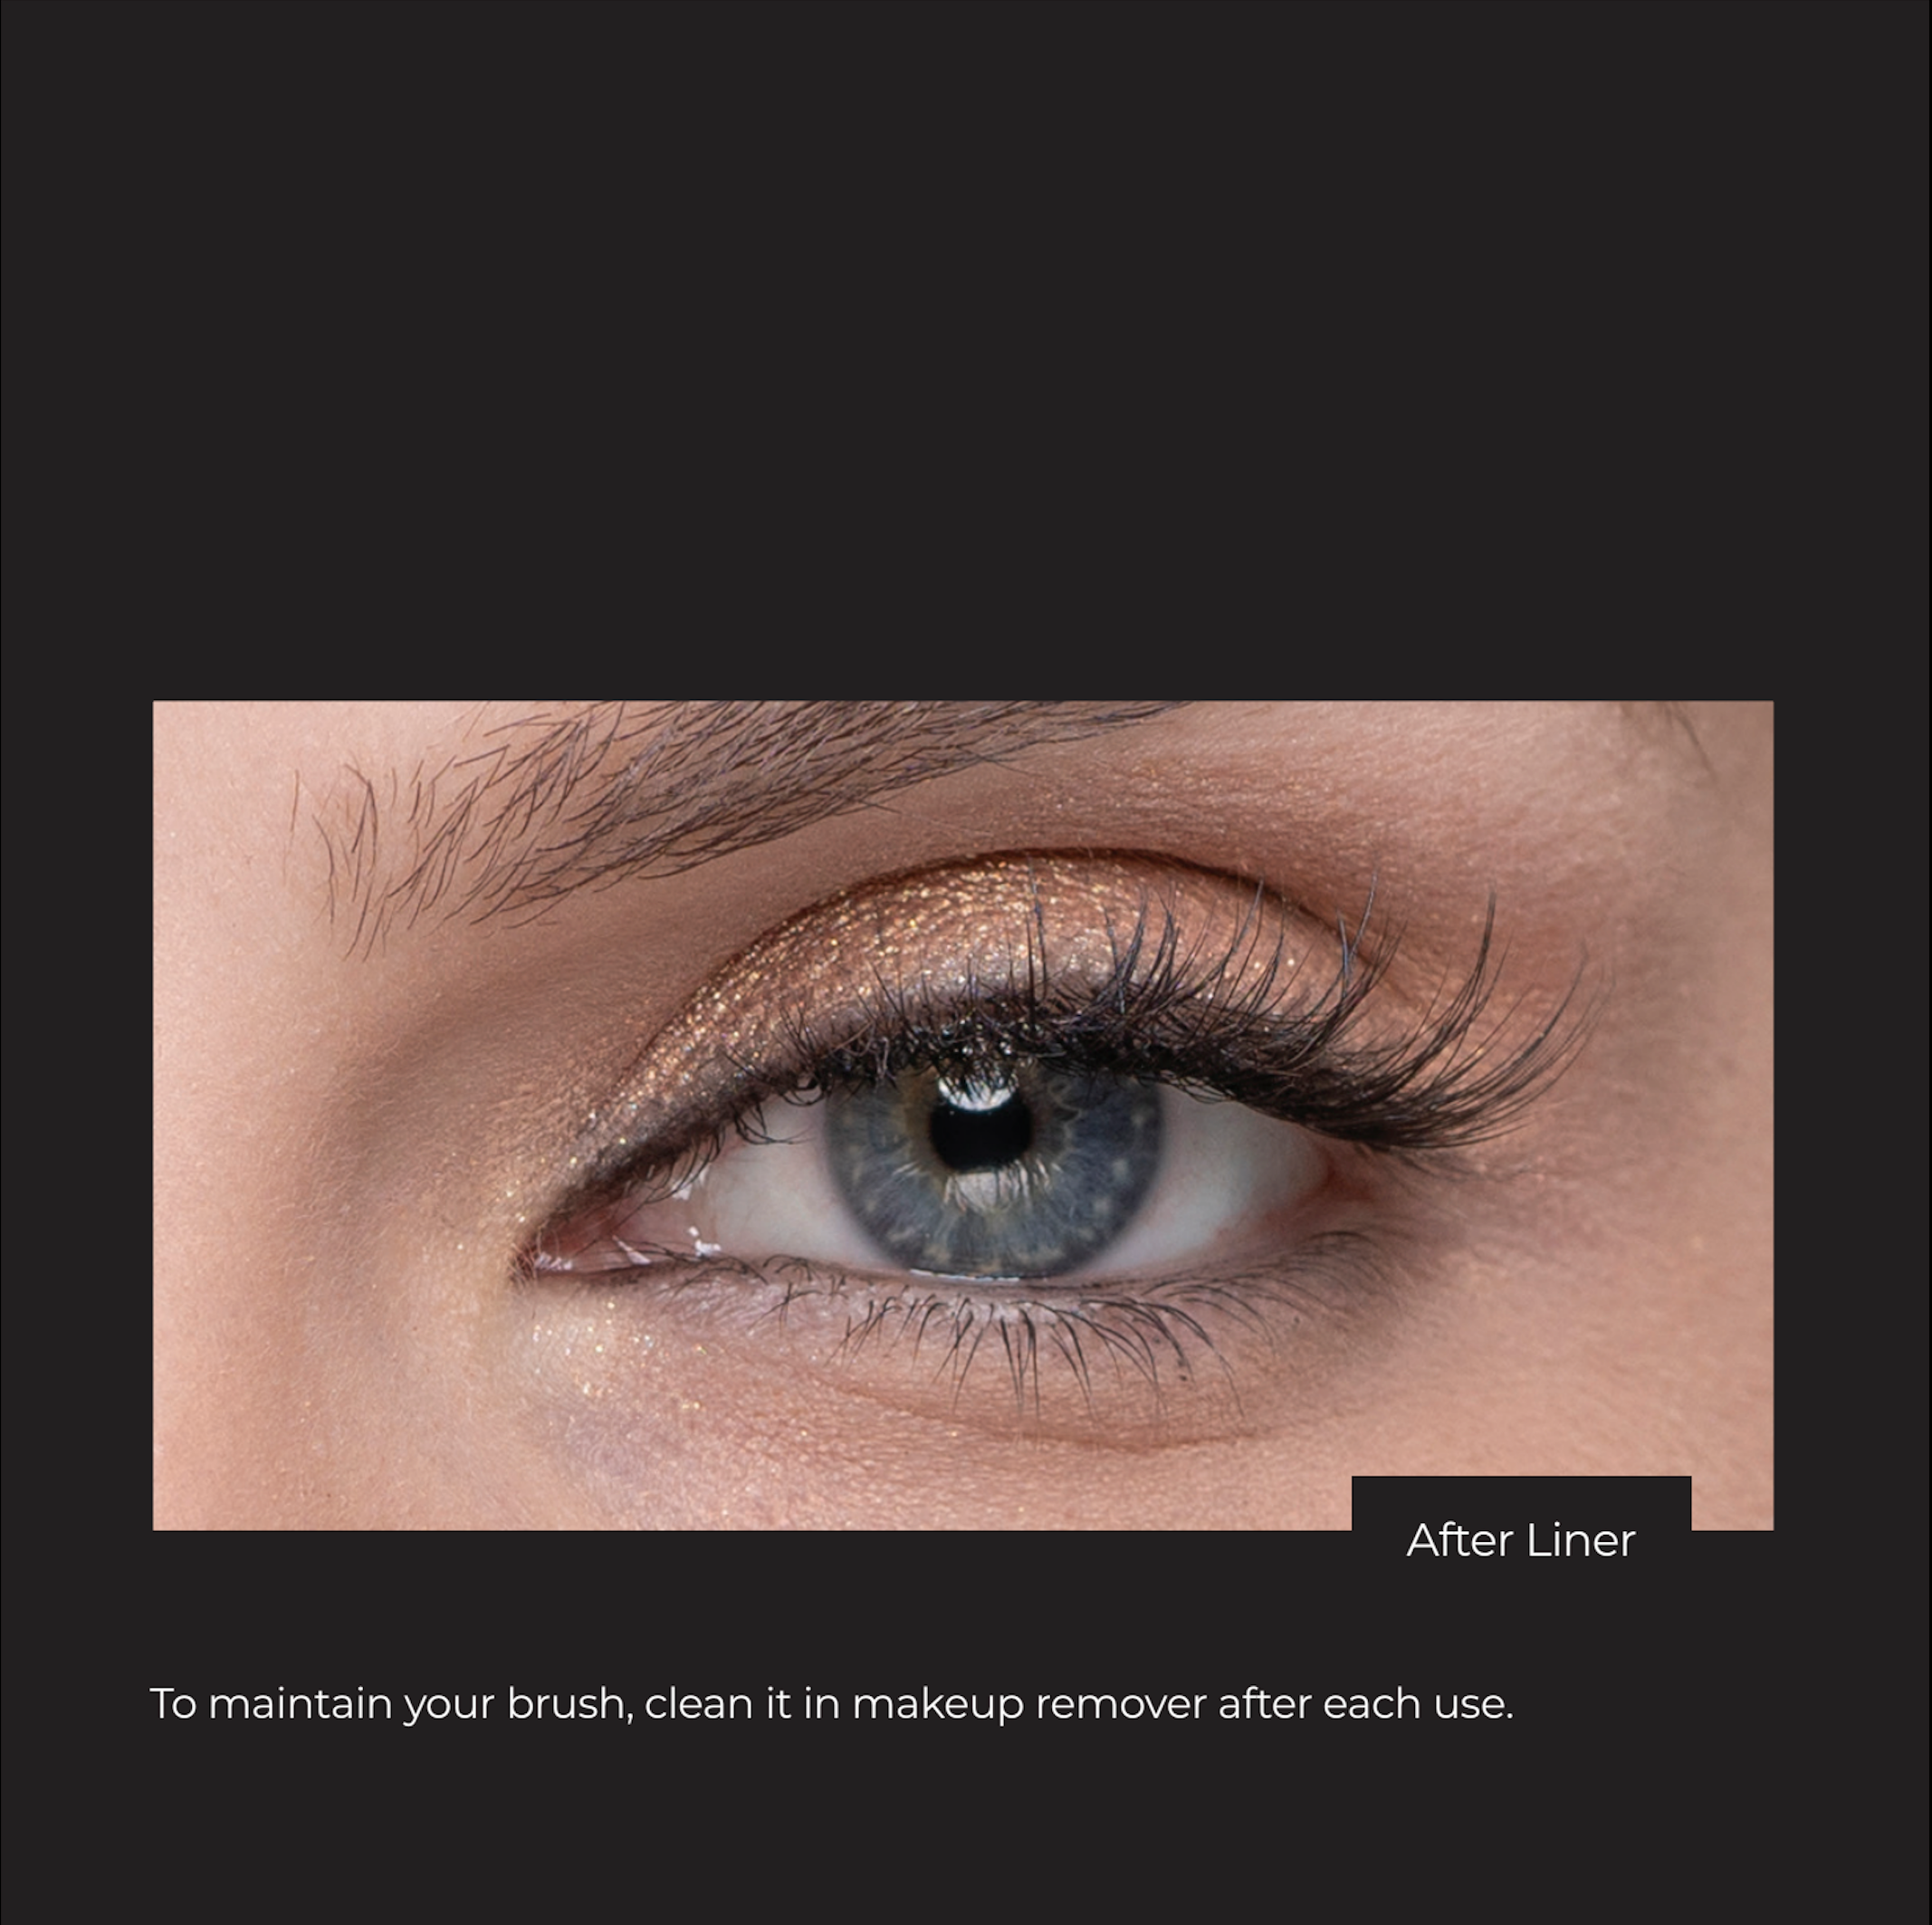
While your glue is drying, apply a thin line of eyeliner from your tear duct to where your eyelashes begin. The objective is to create a seamless line between where the Eyelace band will end, and where the eyeliner begins.
To maintain your brush dip it in makeup remover and clean it after each use.
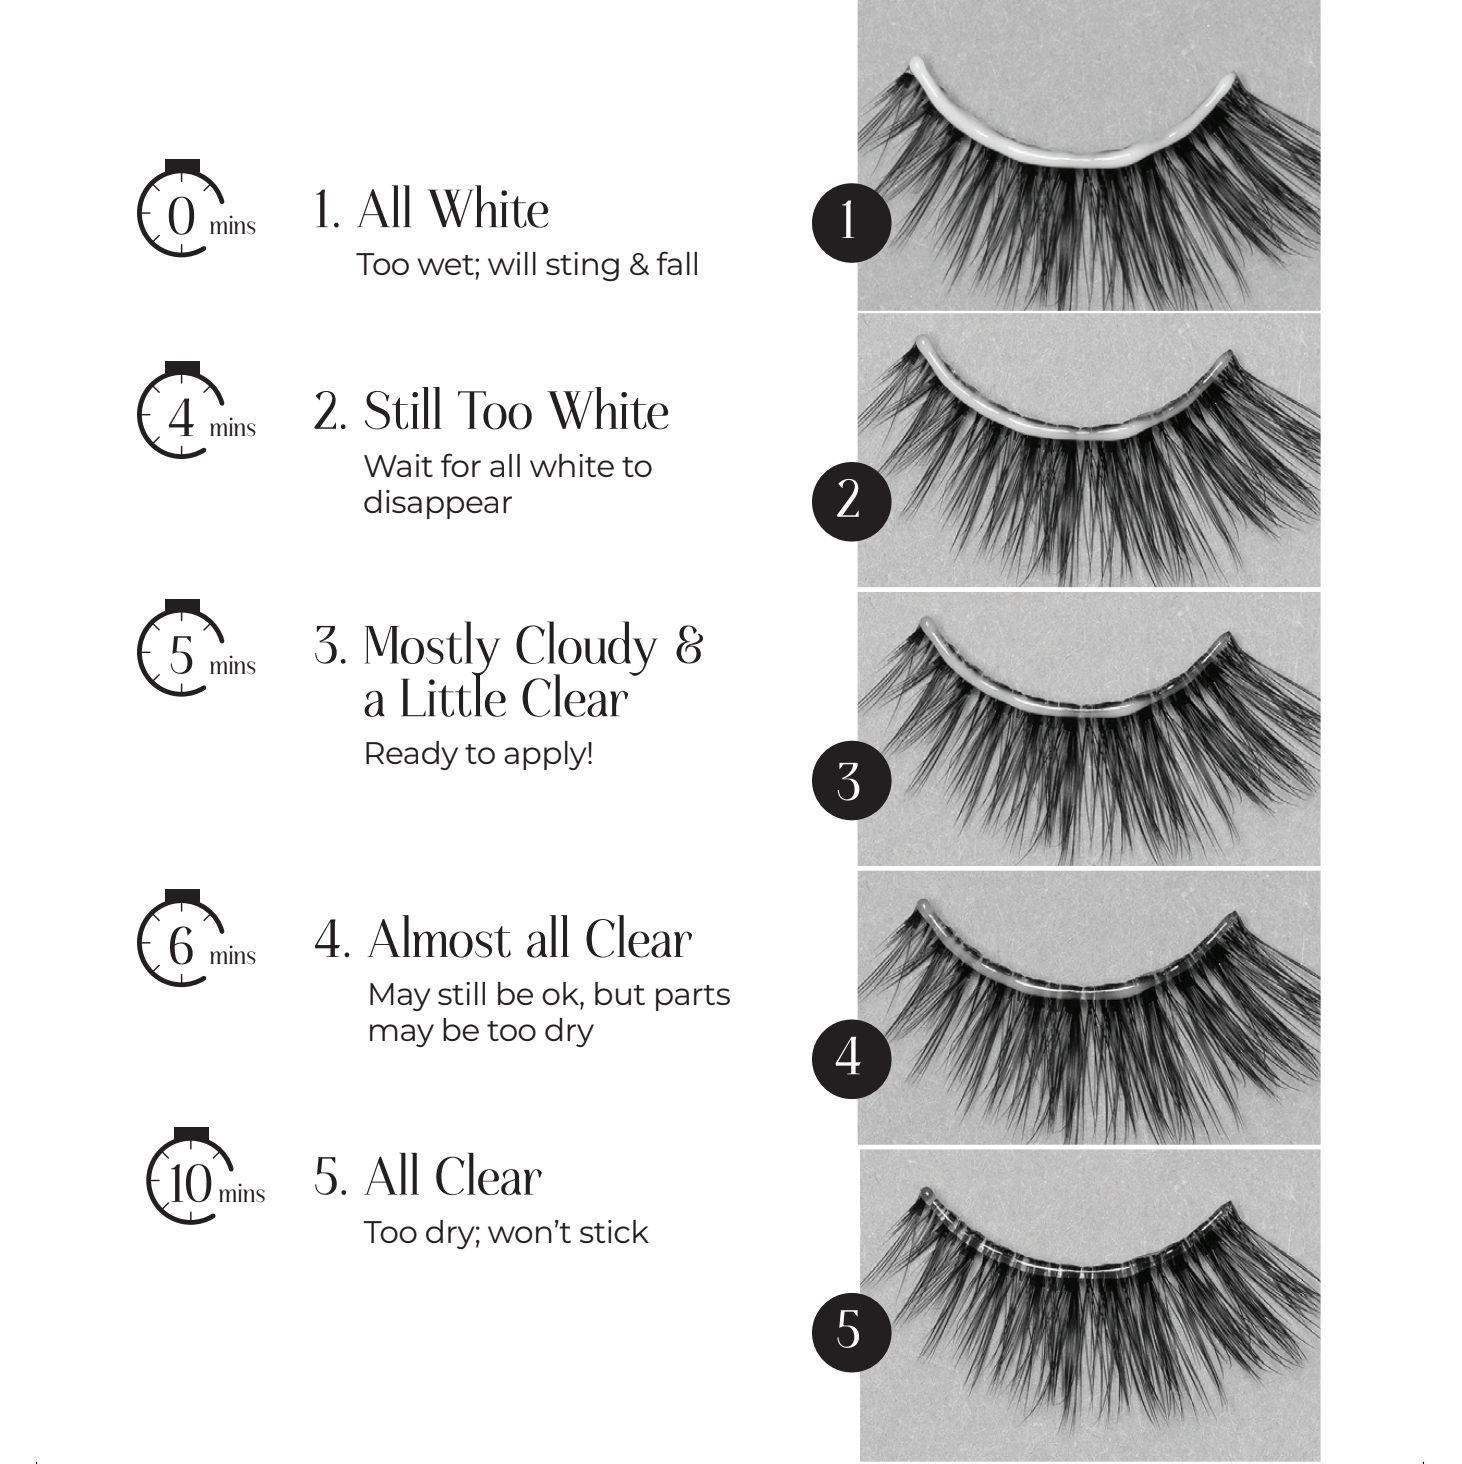
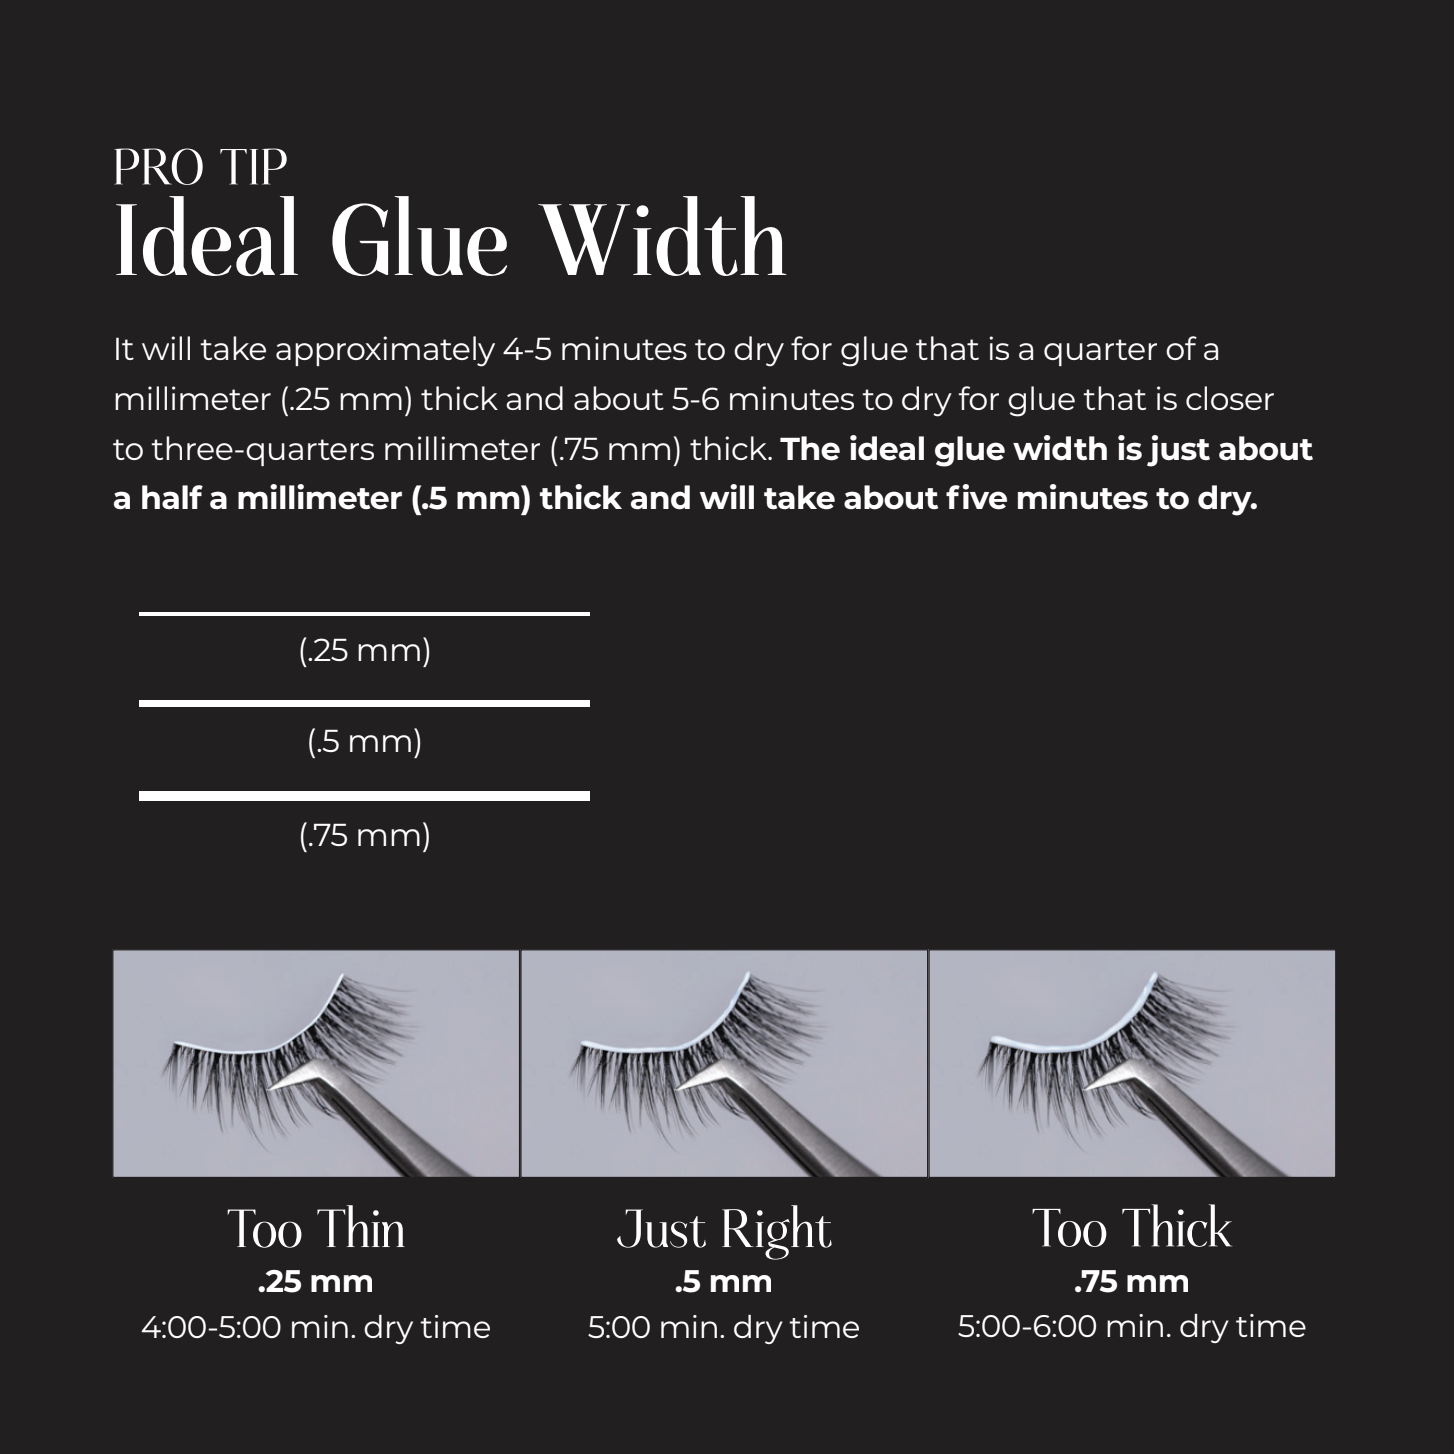
The time it takes to dry your glue depends on how much glue you’ve applied and how much humidity is in the air. Ultimately, you will be able to tell when the glue is dry when it reaches the right color. When it is too wet it is white, and if you try to put it on the wet glue will sting your eye. If it is too dry, it is clear and when you try to put it on the lash won't stick.
It is ready to apply when it is mostly cloudy and a little clear. It will take approximately 4 to 5 minutes to dry for glue that is about half a millimeter (.5mm) thick, and about 5 to 6 minutes to dry for glue that is about a millimeter (1mm) thick. The ideal glue width is just about three-quarters of a millimeter (.75mm) thick, and it will take about 5 minutes to dry.
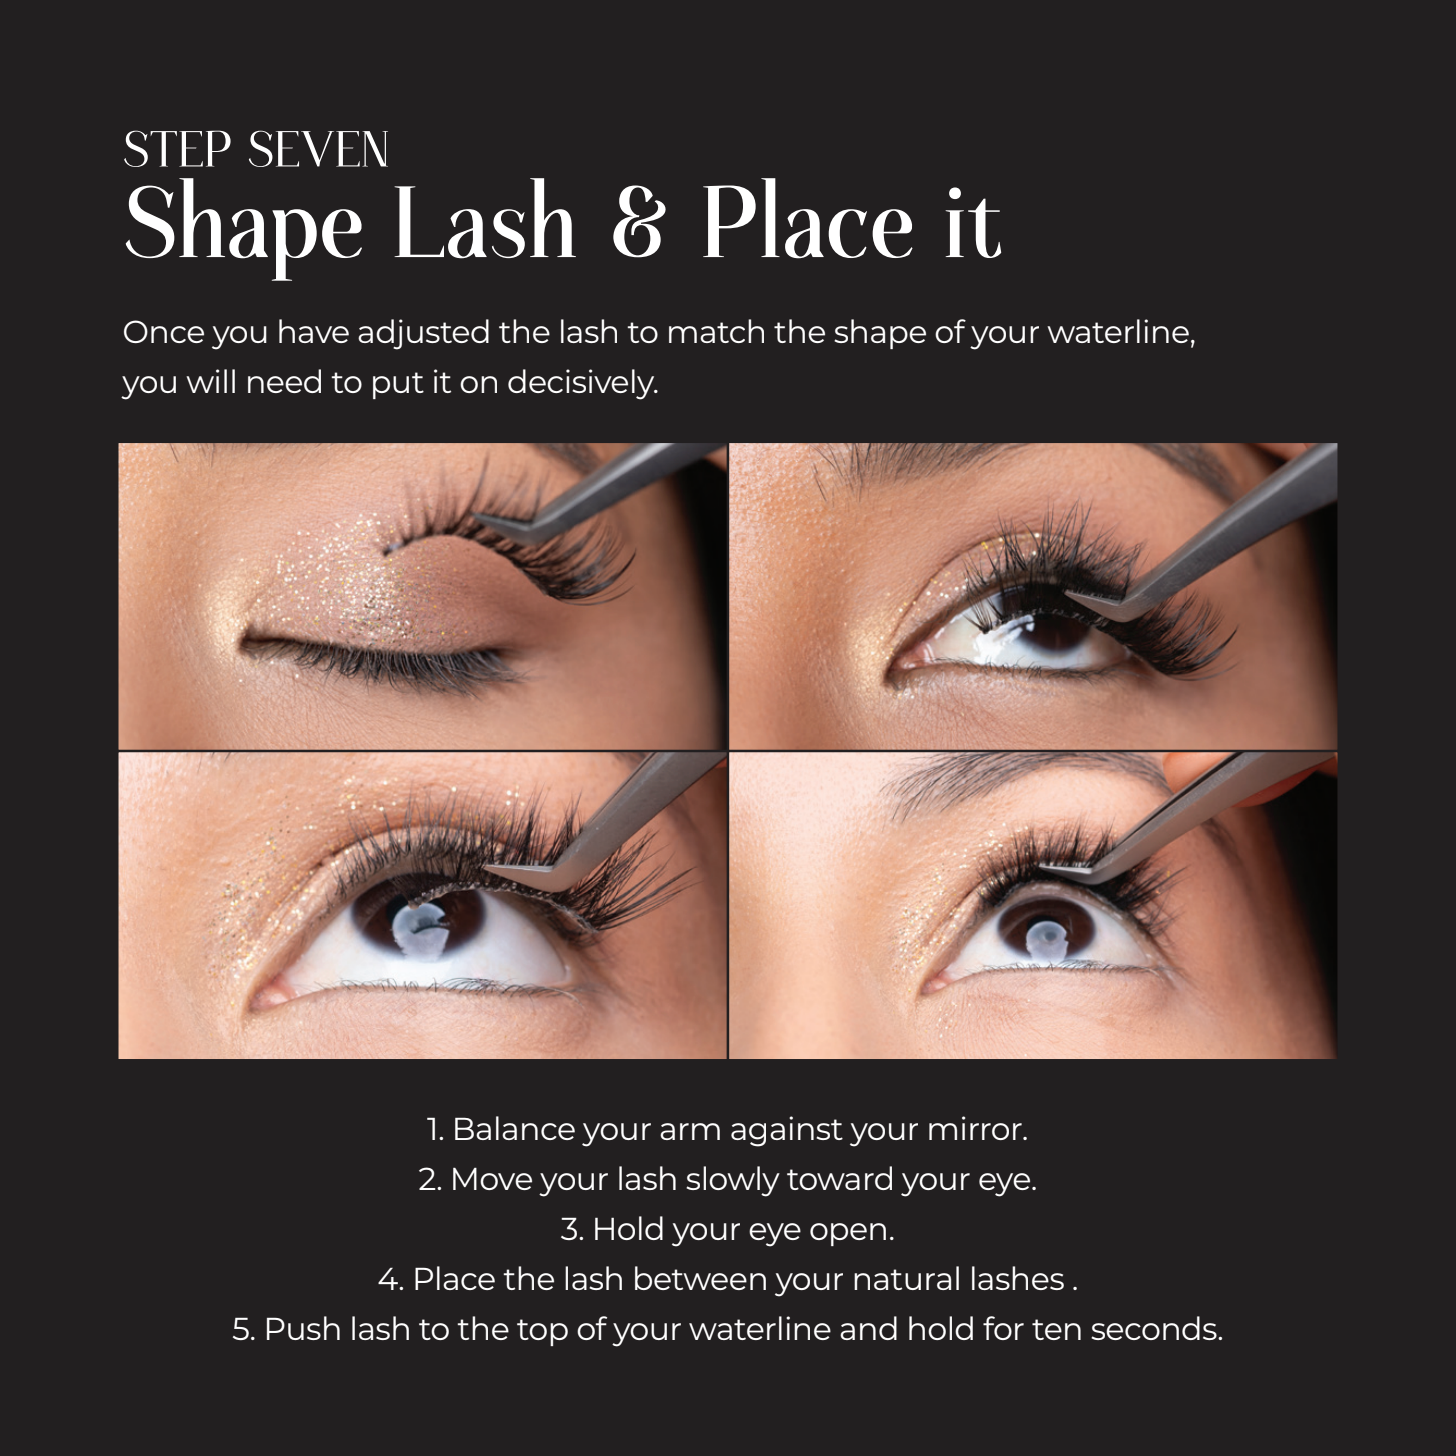
When your glue is ready, stabilize your elbow against a mirror and slowly and decisively bring your lash to the center of your eye, and the top of your waterline. Press your Eyelace into the top of your waterline and hold for ten seconds so the center glue can affix.

Once you carefully let go, use your tweezers to first press the inner edge down, then move your tweezers to the outer edge and press the outer edge down so that there is no space between the lash and your waterline.
After a few seconds of letting the glue settle, carefully use your tweezers to squeeze the base of your natural lashes together with your Eyelace. Squeeze them together all the way across the band.

Sometimes you can't place your lash perfectly on the first try. If so, remove the tacky glue, reapply fresh glue, and try again.
How To Remove Your Eyelace Lashes
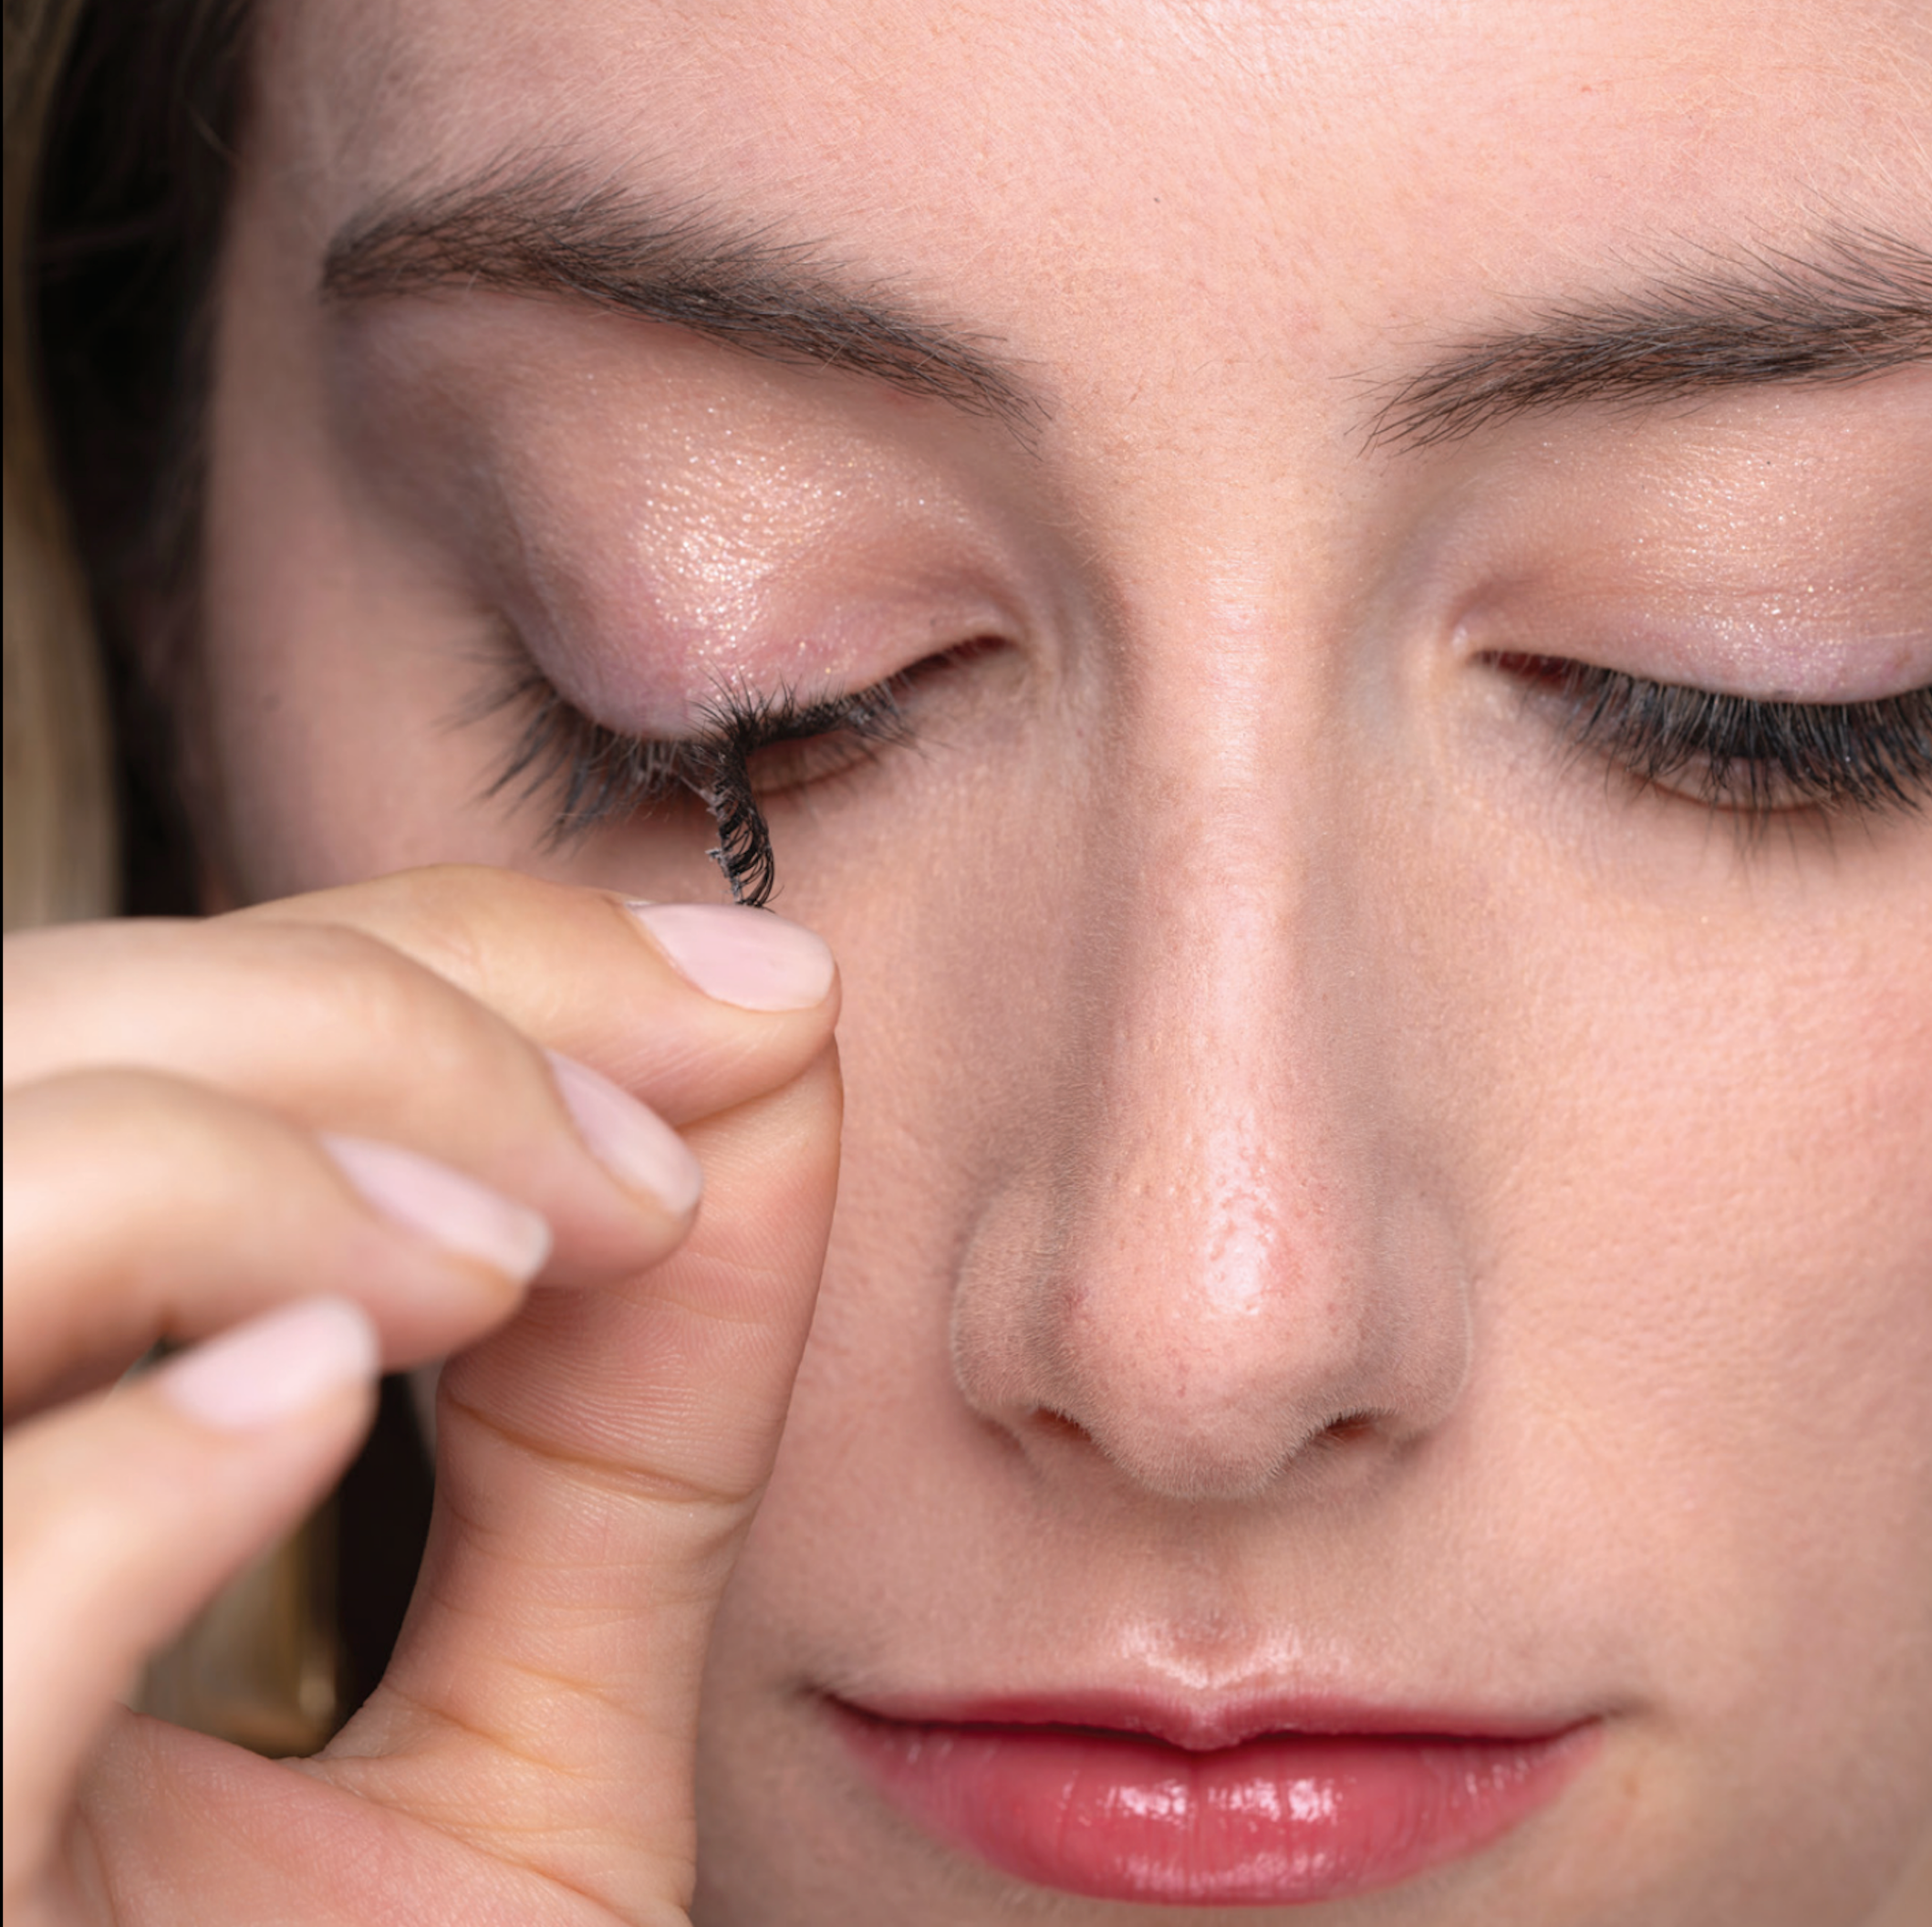
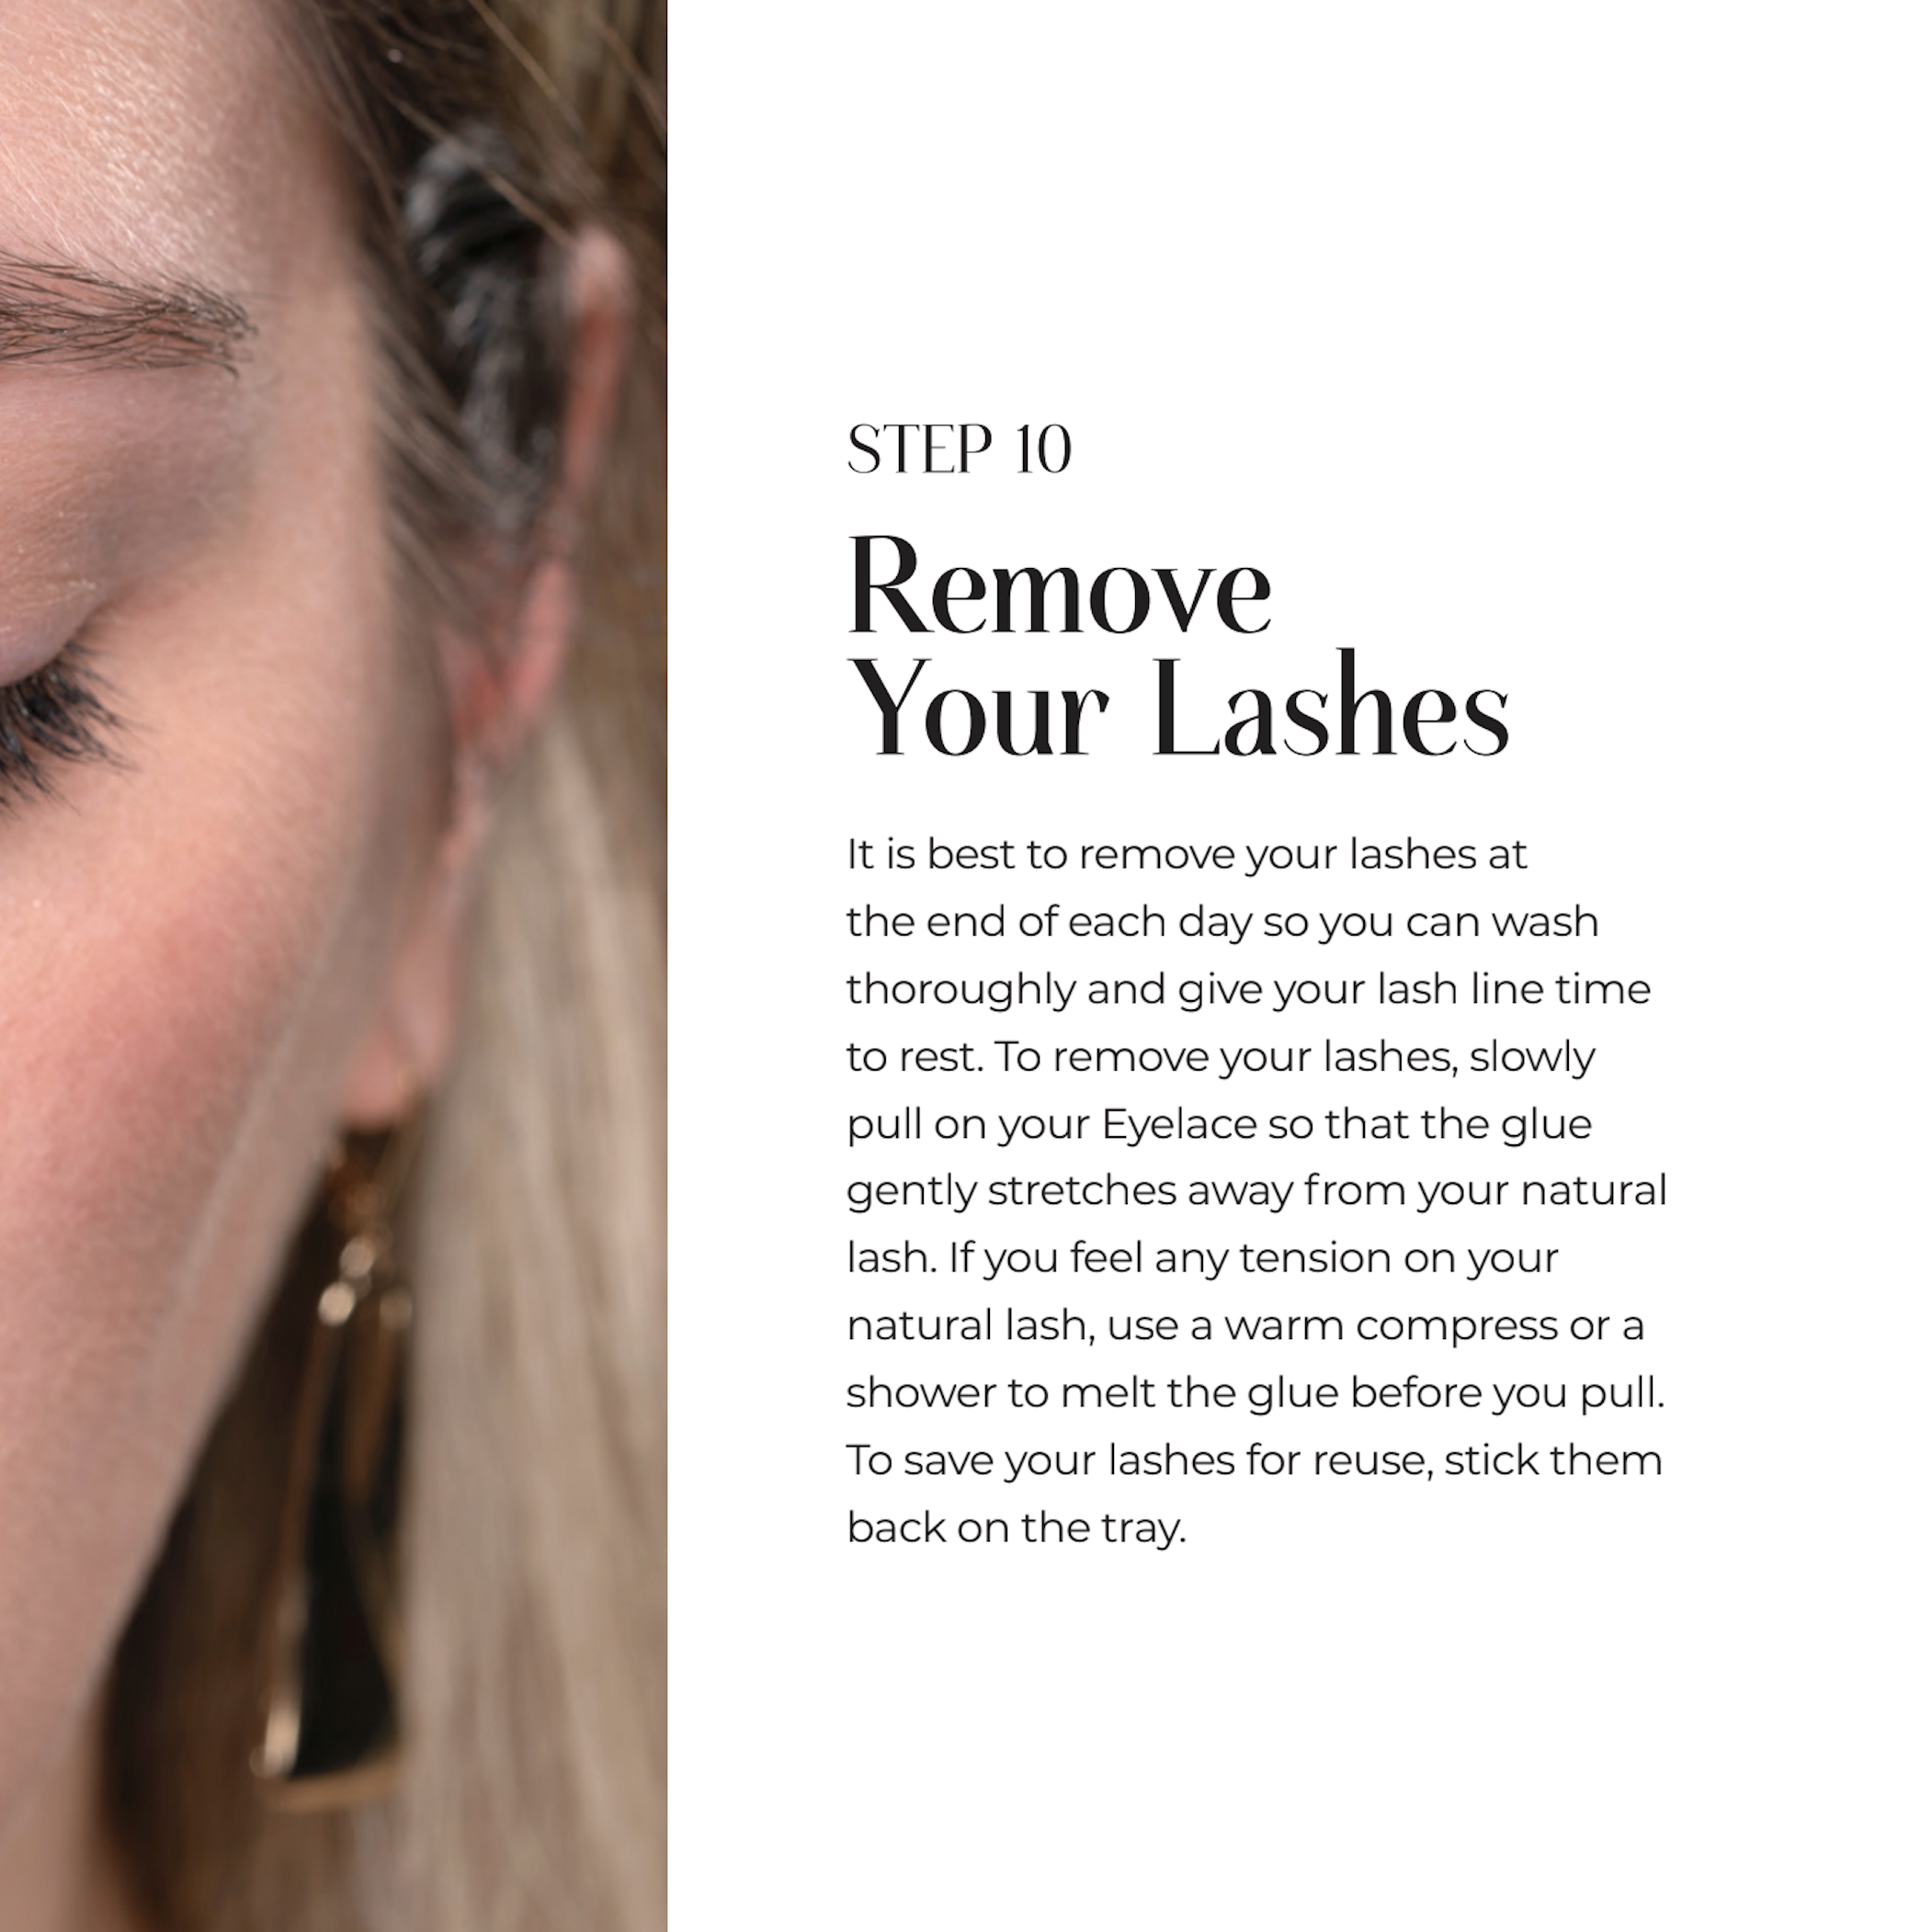
To remove your Eylace, gently pull it until the glue slowly separates from your natural lash.
If you feel any tension use a warm compress, or a shower to melt the glue before you pull.
Once removed store your lashes on the plastic tray to reuse them.
Learn More About Eyelash Care & The Latest Beauty Trends!
Making Space for The Creative
Contact Us Now
Need Help?
Please do not hesitate to reach out to us if you have any questions or concerns about applying, removing, and caring for your Eyelace Lashes. We are here to help you.